Hi Everyone, I have tentatively planned my fabric choice. I have 2 fabrics in mind to mix and match my dress. We’ll see how that works out. lol. I have also taken initial notes after reading through the pattern. Do you all do that too? I have a notebook full of notes so I can refer back to things. Actually, I have multiple notebooks and a fancy pattern grimoire
Seamwork Emma Sewalong 1
A few weeks ago, I did a group sew over on the Seamwork Community. I figured it would be good to put here too. I intially did not want to make Emma. Someone posted that they wanted a sewalong, and I volunteered to do a group sew. I hadn't even looked at the pattern before I volunteered. Yikes. Then I though Oh Well - Let's Go. Just so you know, it turned out beautifully. I love it.
I got my pattern printed at the Plotted Pattern. I knew she would print just one pattern, and I knew she was fast, and I knew she would print the sizes I needed. However, I also printed The Boxy Tee by Glory Allen but I haven't made that one yet.
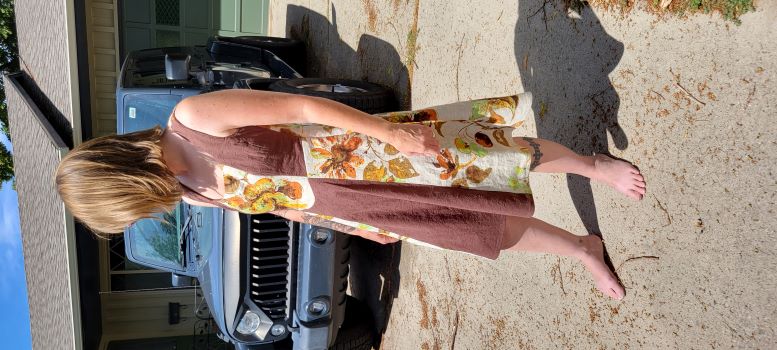
Here is the end goal:
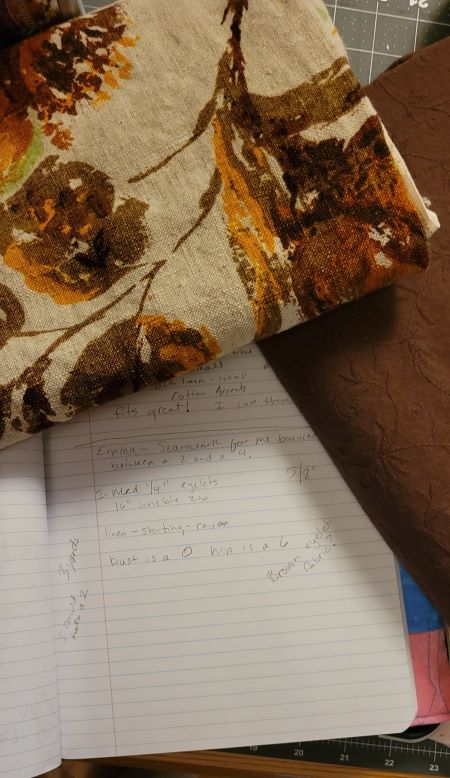
Gathering Supplies/Taking Notes
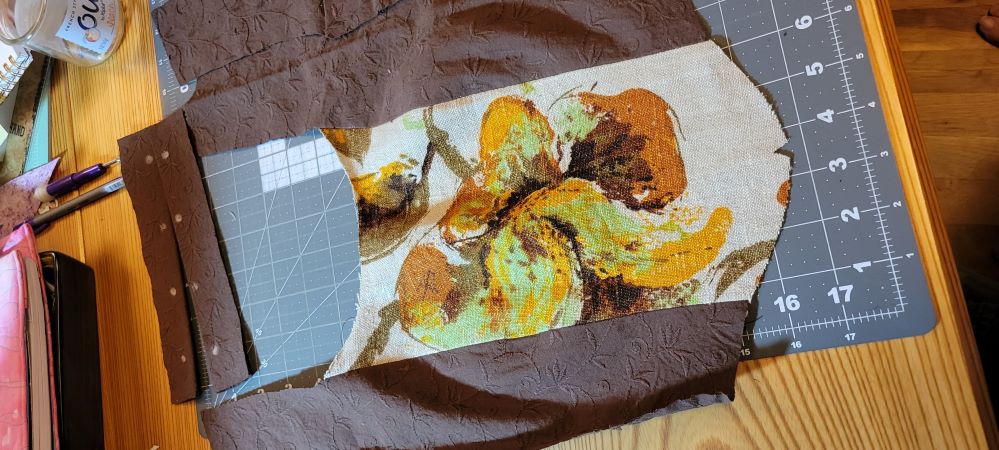
Front Bodice
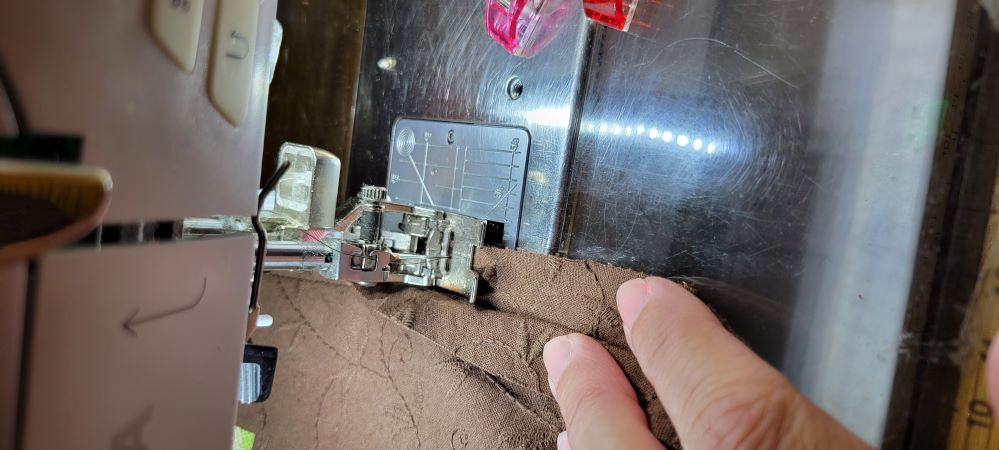
Today, I cut out all of my pieces and started sewing. I got through - Apply Interfacing and Sew Bodice Front.
I did not staystitch but you probably should.
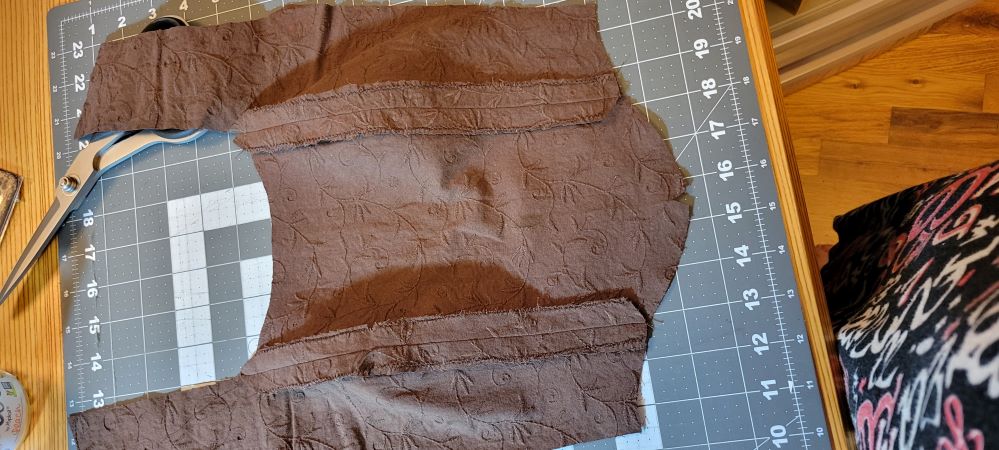
Piece A goes to Piece B - This is where my weird seam is. This is a mistake that I am not fixing. I think I will be ok.
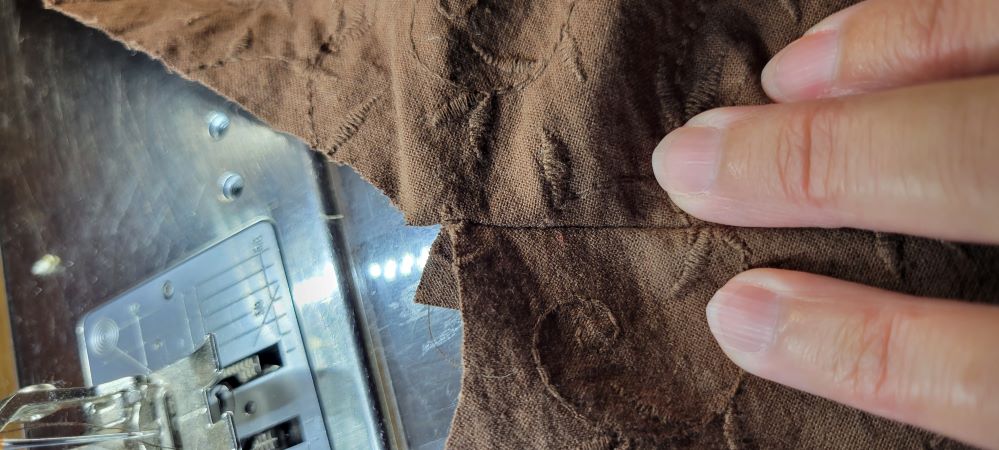
I did not clip my seams - but you probably should. I did iron each seam open after zig zagging them. I zig zag AFTER I have sewn the seam. No reason why, it’s just what I do.
I found that my piece C does not really look the same as the piece C in the instructions. I triple checked it and I believe I did it right. So next, piece C goes to Piece B. Make sure you match your notches.
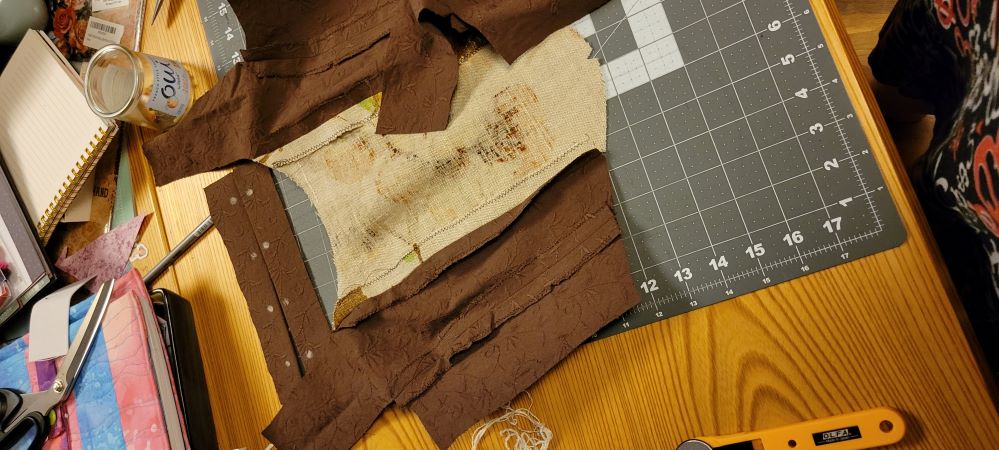
This last photo is of the completed Bodice Front. My interfaced eyelet panel is at the top. I actually marked everything with a Frixion pen, but then I need to iron, so I went over it with chalk, so I wouldn’t lose it. I just use chalk from my daughters’ old chalk board. It is not precise, but this marking does not need precision for me.
There are two pieces that are exactly alike - lining and outer.
So far, so good. How are you coming along?


Comments
Post new comment