Redwood Sew-a-Long - Hand Pockets!
Day 2 Redwood Vest Sew-a-long
Today we’re going to work through the hand pockets.
Since I last checked in, you found your size, decided on which version to make (color blocked or no), and decided on which pockets you want to add. Now cut your pieces. I elected not to cut my bindings yet. I will cut the bindings as I need them.
.jpg)
It always helps me to move my patterns to an app called PDF Markup. I really miss paper patterns in the sense that I used to write all over them, so I got this app and it allows me to write on the .pdf and then save it all marked up.
The first mark I make on a pattern is to circle the seam allowance. This pattern calls for a ⅜” SA.
Before working on the pockets the pattern instructs us to stay stitch the necklines and the fronts (where the main zipper will go).
Now on to POCKETS!
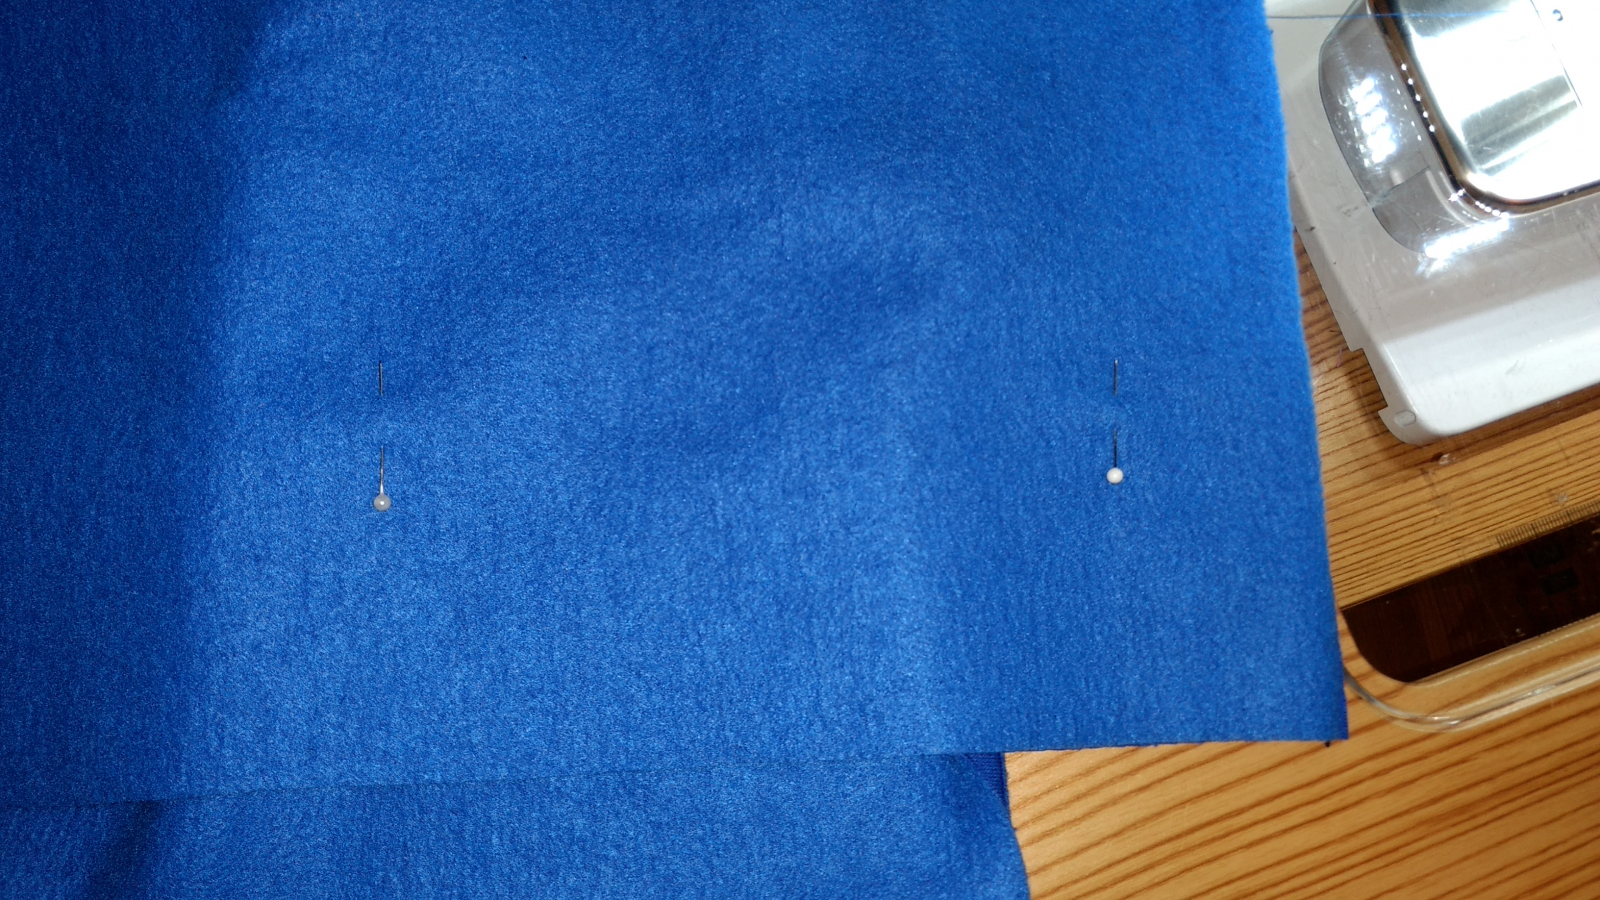
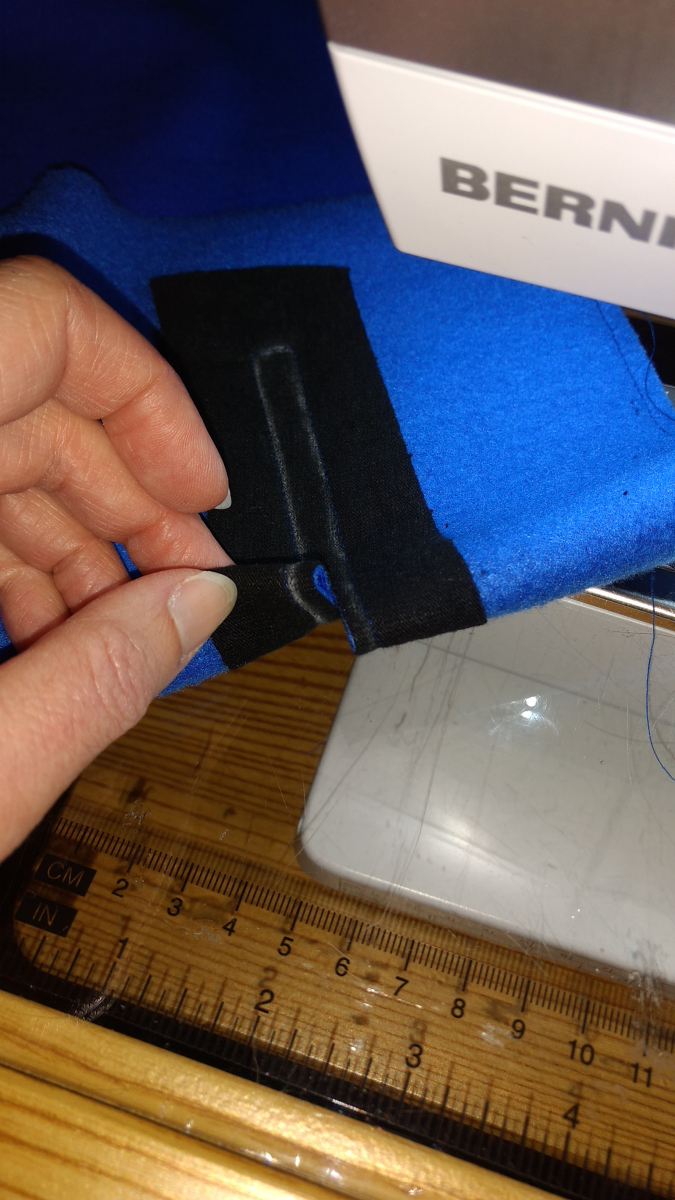
You need to mark the pocket placement on your front pieces (right side). I hate trying to draw on fabric most of the time, so I have placed pins in the place on the fronts where the short ends of inner rectangle should be. You can see my pins in the photo of my cut pieces above as well as in the photo below.
I had my pattern printed by PDF Plotting. Then I traced the size I wanted onto pattern paper. This is helpful as I am making quite a few sizes of this pattern. The one I am working on is a large that I am making for a friend.
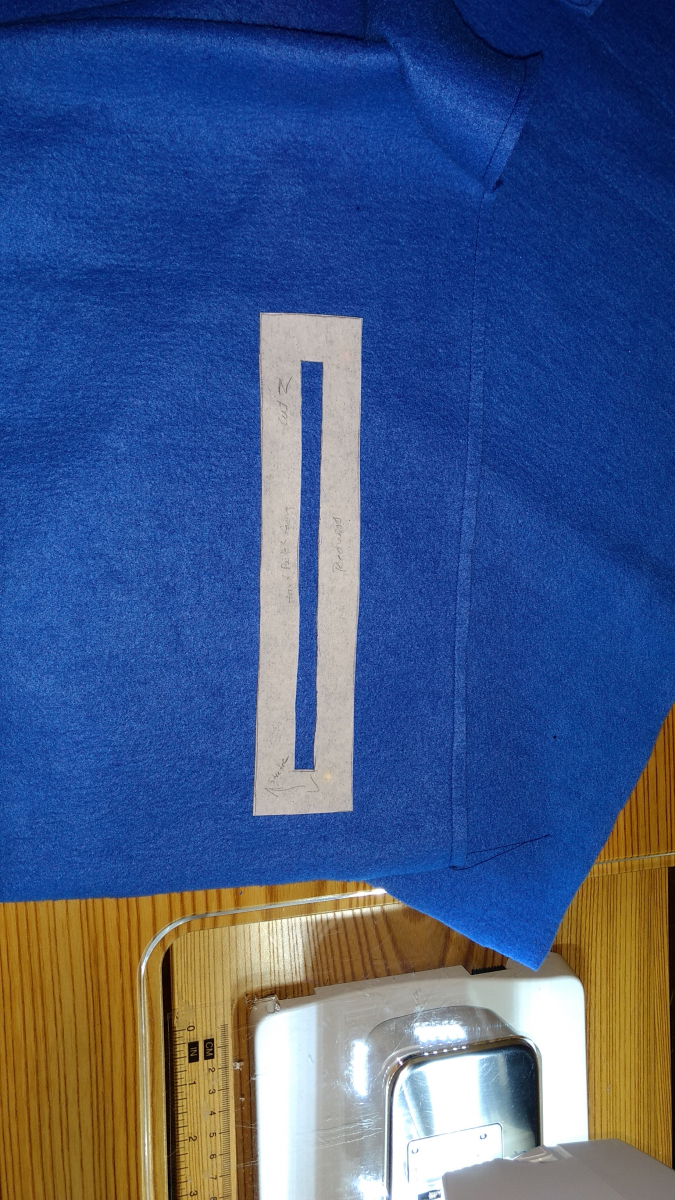
Here is my Hand Pocket Facing pattern piece. I have cut out the inner rectangle to make things easier. When I cut the facing out of fabric, I leave the pins in and trace around the rectangle with chalk (on the WRONG side). This is kind of a pain, but listening to Loyle Carner and Kate Tempest helps me be calm enough to tackle this.
Place the facing piece on the front piece RIGHT SIDES together. Line up that pin with the short end of the rectangle.

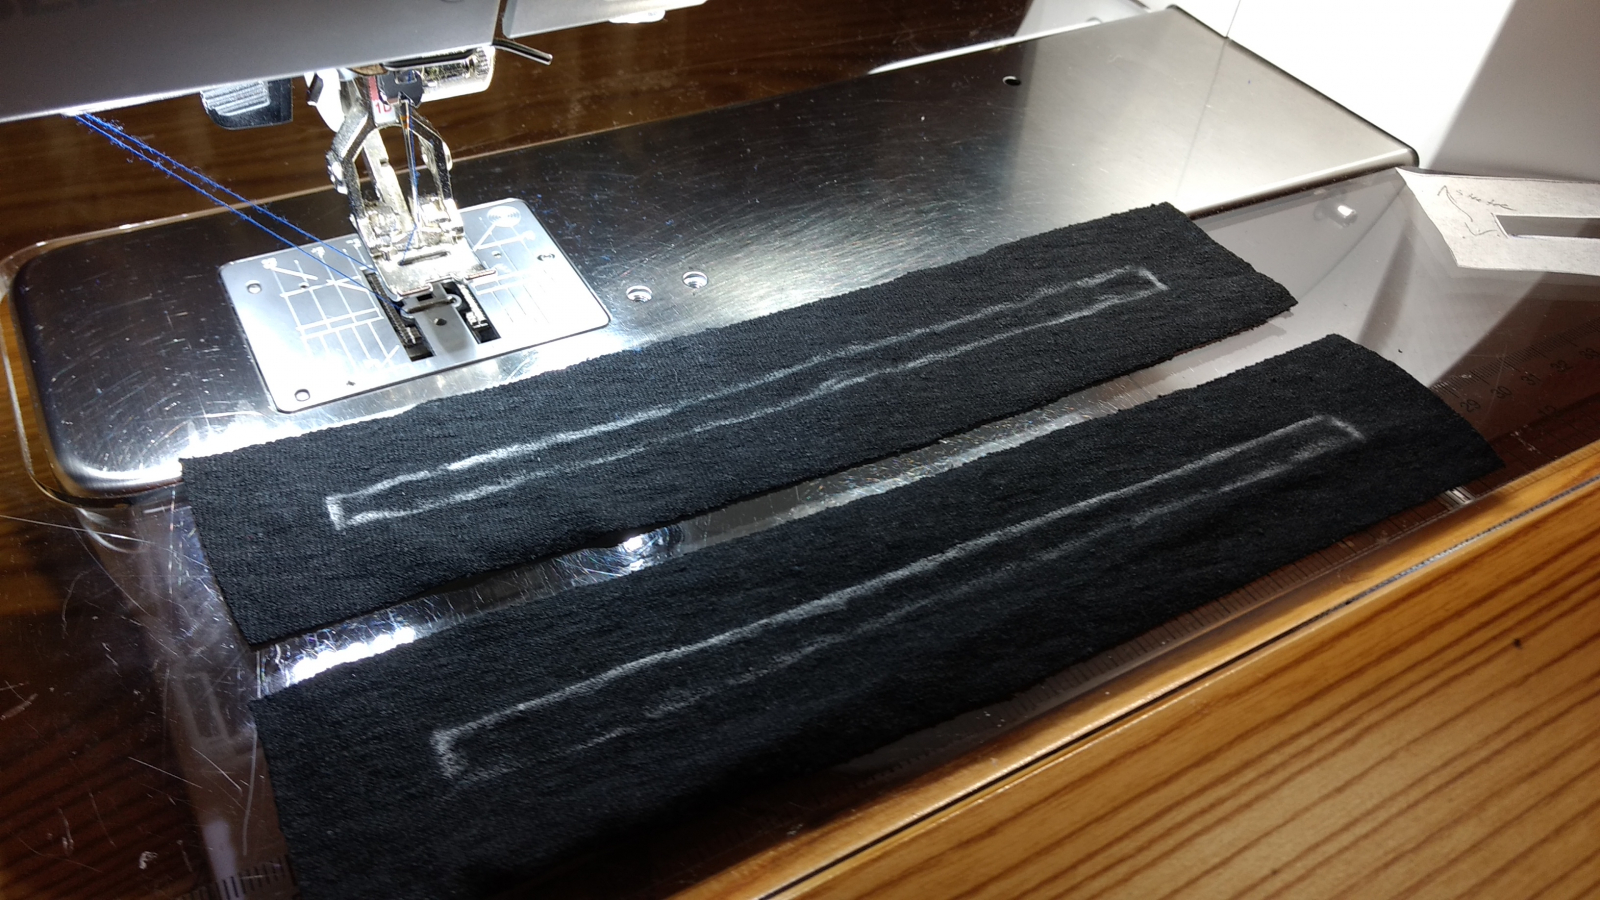
Sew around that chalked rectangle. In my case, I need to sew at the outer edge of the chalk mark to be accurate to the original rectangle.
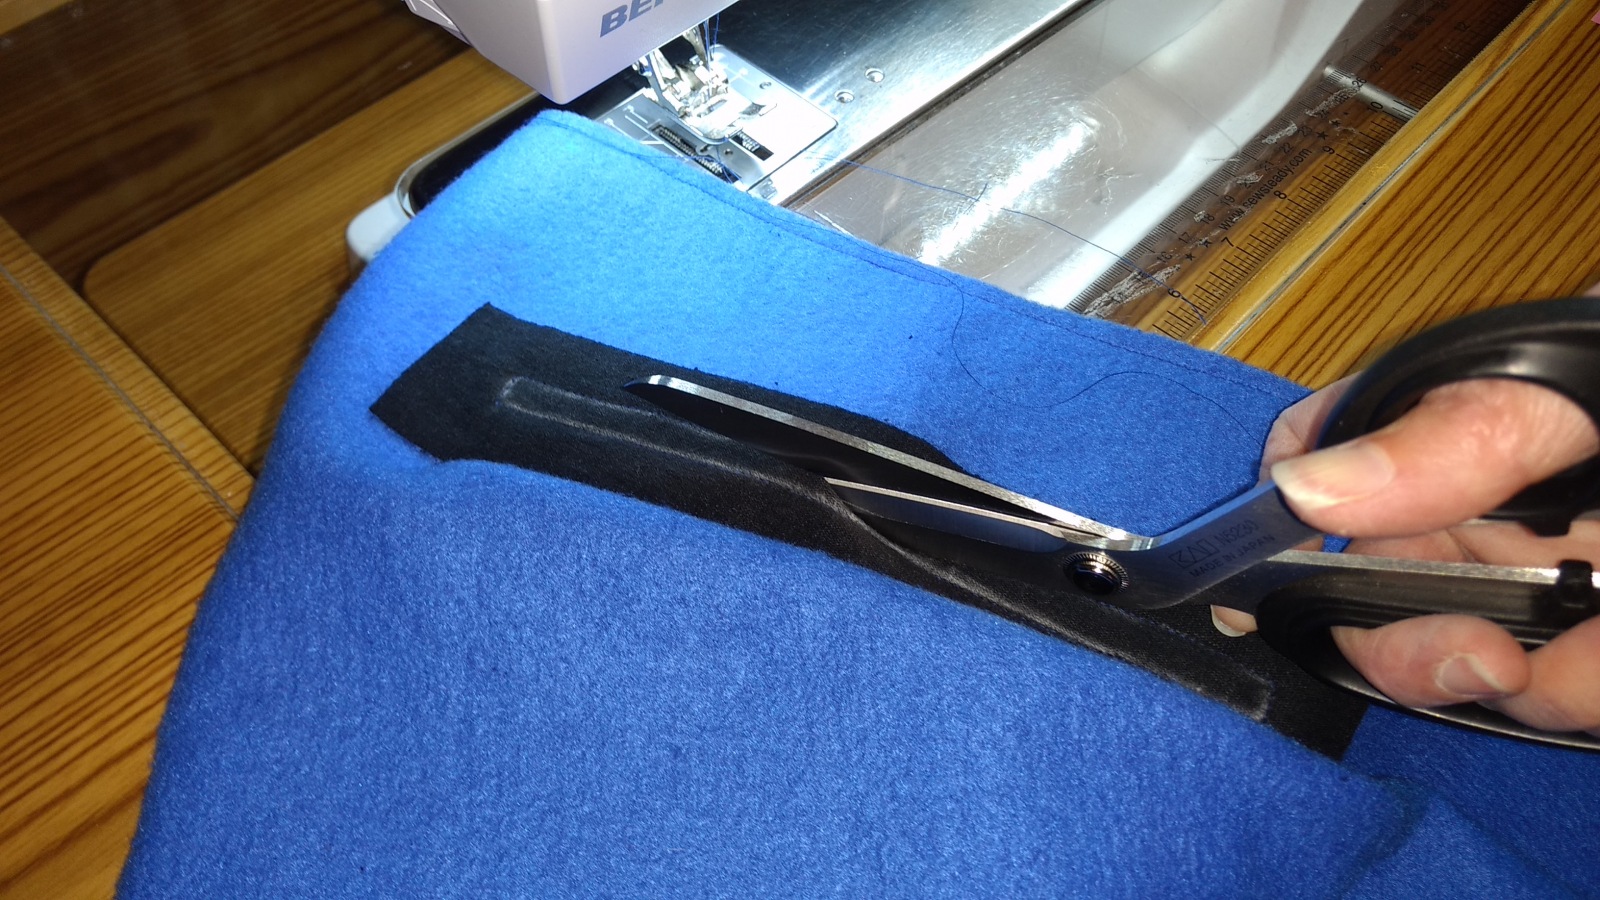
Now cut a line in the center of that rectangle, stop ⅛” or so from the short end and cut to the corners. DON’T CLIP THROUGH THE SEAM. Yes, this is the scary part.
Push the facing to the inside of the hole, so it comes out on the wrong side of the front piece. The pattern tells you to finger press, but I pressed it with the iron to keep it flat.
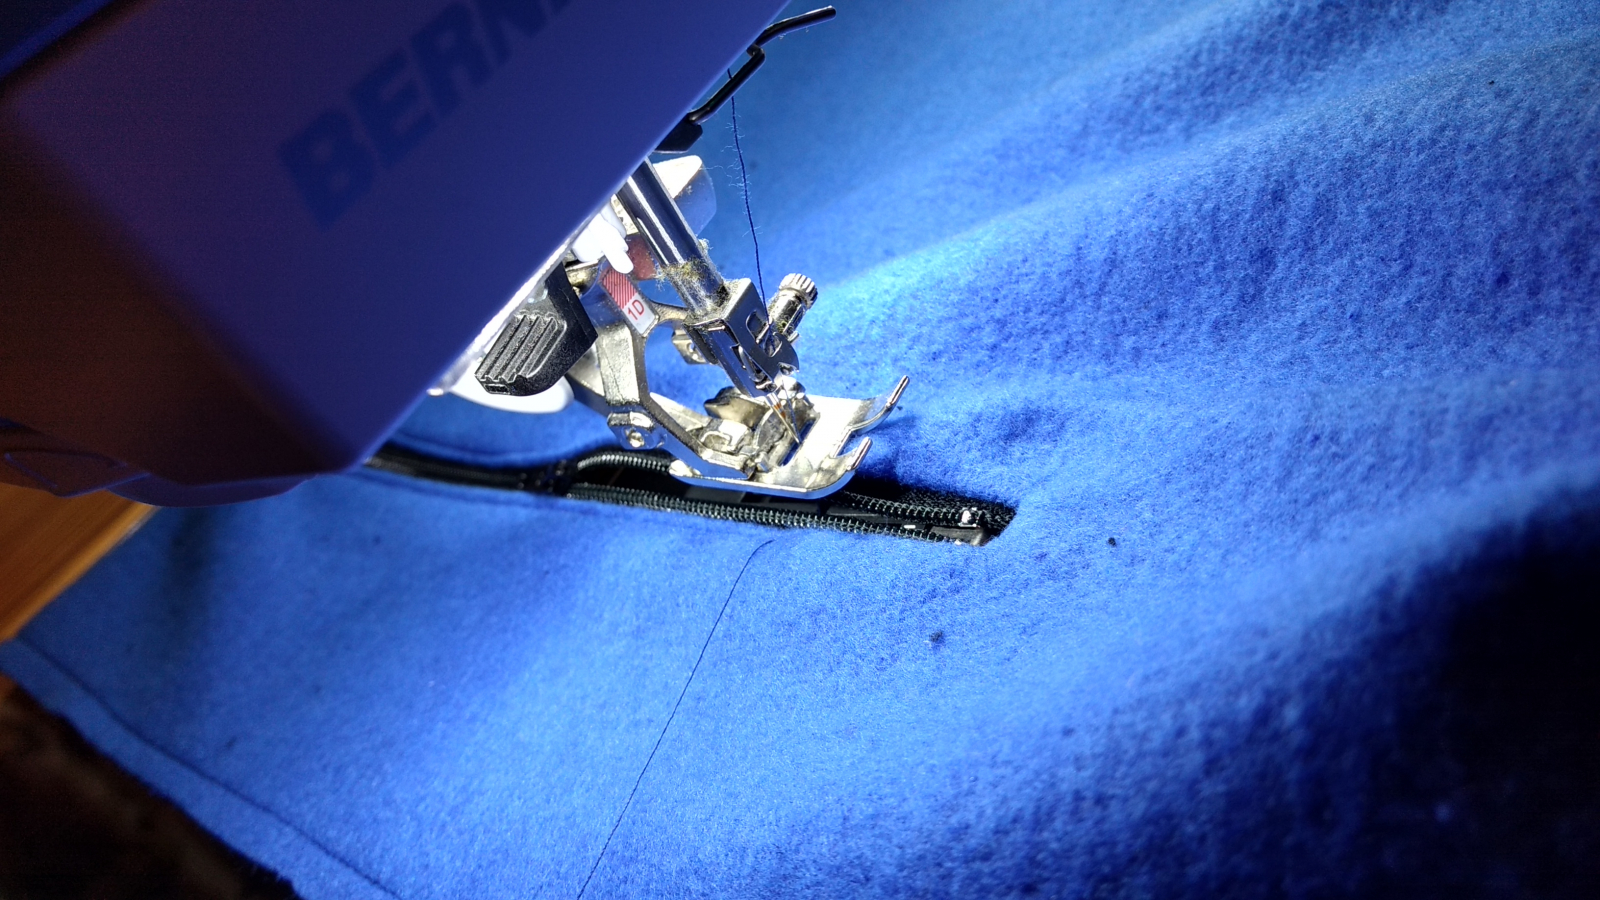
With the zipper right side up (I think I used 7” zippers for the pockets) apply Wonder Tape or fabric glue to the zipper tape. I used Wonder Tape. Then center the zipper in the window you just created. I flipped my front piece to have the wrong side up. I put my zipper where I thought it was centered and pressed down to adhere the tape. Then I flipped my front piece over and adjusted the zipper to be straight. This doesn’t work so good if you are using fabric glue.
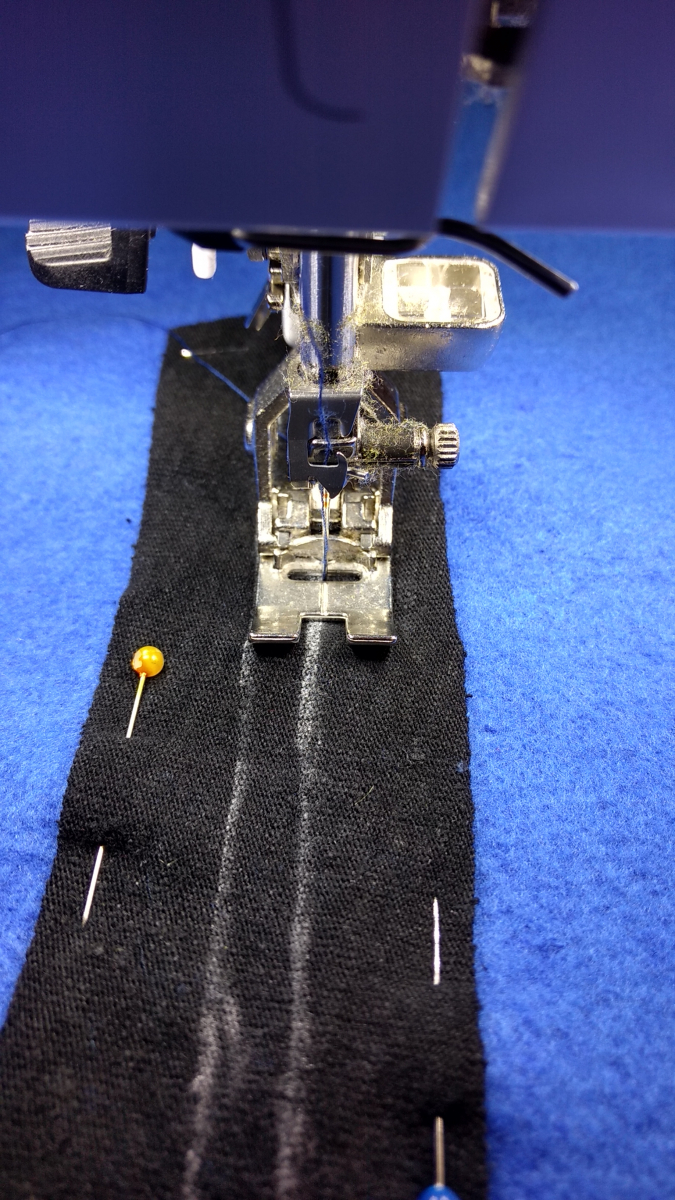
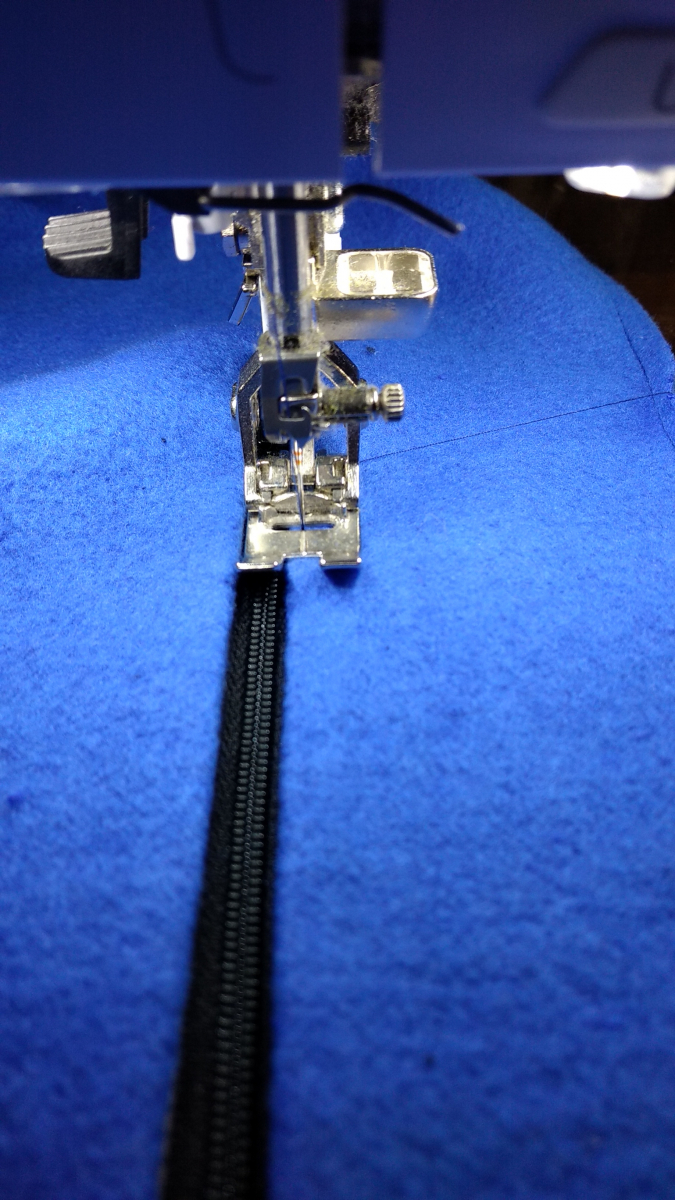
Now, topstitch around the zipper ⅛” away from the edge of the pocket. Turn it over and make sure you have caught the zipper tape in your topstitch.
Now do that all over again on the other front piece.
Notice I did not use my zipper foot. I find topstitching much easier with my regular foot. However, you need to lift the presser foot and move the zipper slide out of the way on occasion.
I am skipping the yoke zipper pocket in this one.
Next time we’ll work on Color Blocked Yoke and Shoulder, Sides, and Collar.
Questions? Ask them here or on my Instagram Post for this step.
New to Sew My Style? Learn more and join in here.
Sew My Style 2020 includes these talented sewists, catch up on their #SMS20 posts:
Aaronica @ The Needle & The Bell | Leanne @ Thready For It | Ari @ Max California | Minna @ The Shapes of Fabric | Carol @ Chatterstitch | Michele @ WinMichele | Julian @ Julian Creates | Florence @ FTMom3 | Kelsey @ Seam Lined Living | Kris @ Sew Notes | Laura @ The Specky Seamstress | Samantha @ The Rural Sewist | Sarah @ Haraz Handmade | Shelby @ Handmade Shelby | Simone @ Intensely Distracted | and SMS20 Coordinator Paulette @ Petite Font
To stay up-to-date with all the #SMS20 news, pattern discounts and inspiration, be sure to subscribe to the newsletter at Sew My Style 2020.
I've been watching a bunch of live music on FB and Instagram lately. Frank Turner has been playing at least once a week. I've seen Sean Tobin twice at this point too. Since I post ALOT about Frank Turner I'll put Sean Tobin in here today :)


Comments
Hi, I plan on doing this pattern later when I can pick out the supplies in person. But I have never done a zipper like this. I have a zipper and fleece scraps and I'm going to practice. That way when I get to the real vest I will be more confident! For the upper zipper, is that the same but easier since its on the seam?
I found the breast pocket super easy. I was wary, so I added it to the 2nd vest I made, and everything went smoothly. There is no rectangle to cut out, as you are right, it goes right into that color blocked seam. Good luck with yours! Let me know how it goes. -Sarah
Post new comment