Let's Finish Up Our Redwood Vests!
Welcome back everyone! Let's finish up today.
Cut your arm hole binding according to the chart on the pattern.
Sew the short ends together.
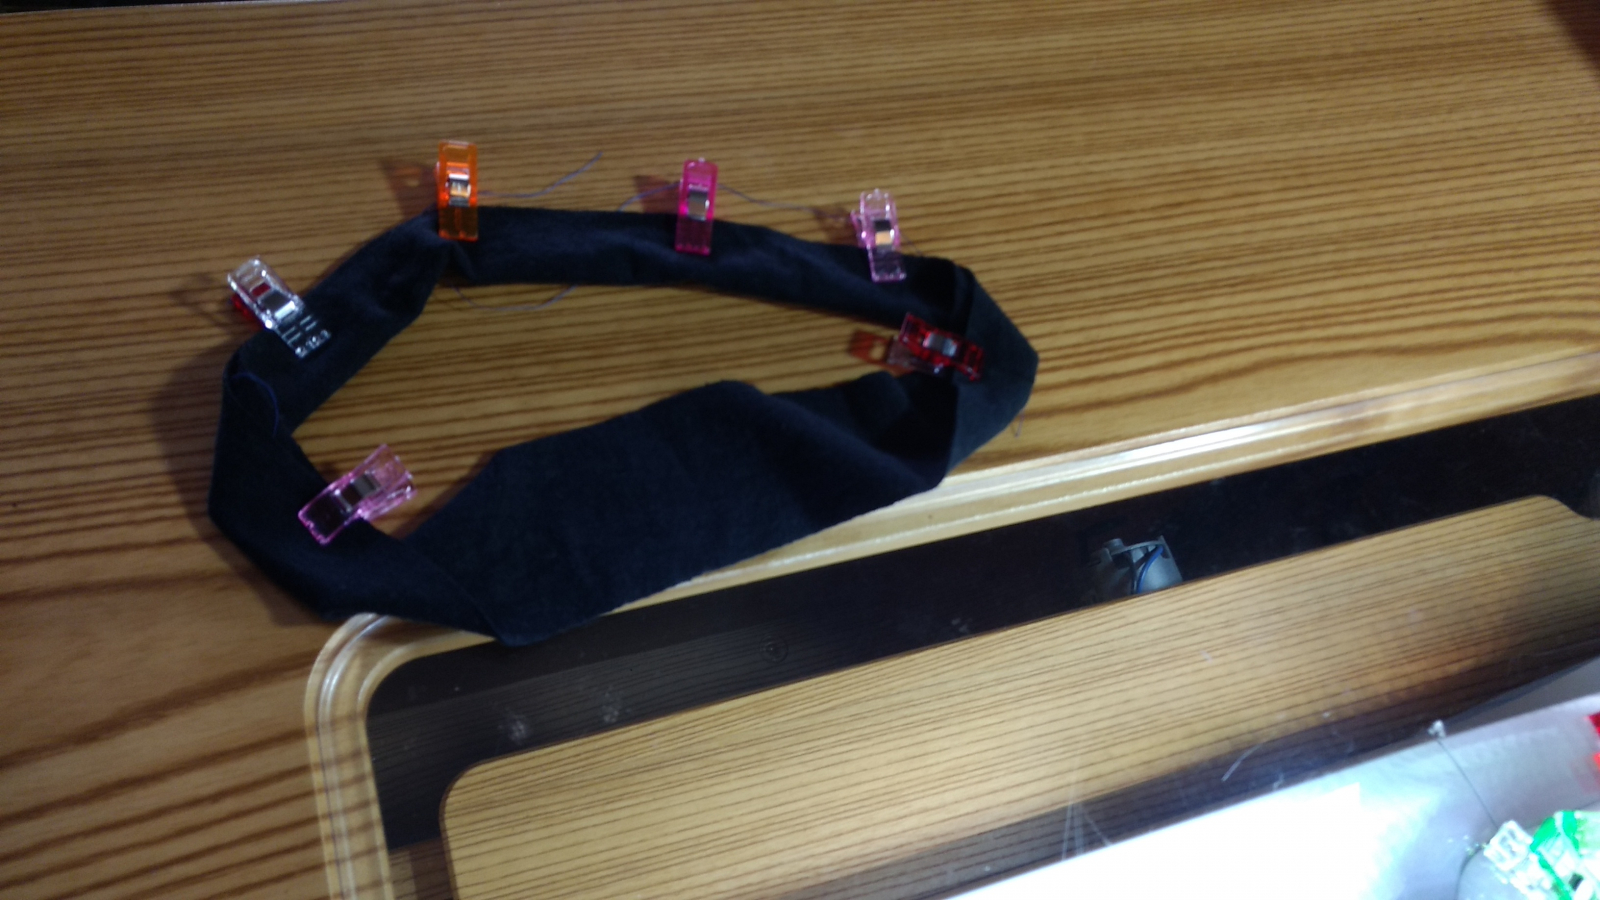
Fold in half wrong sides together. Zig Zag the raw edges together.
When I went to attach my arm binding, I only pinned at the bottom seam and the shoulder seam. The pattern shows marking at the quarters, but this really didn’t work for me. I found just using the half marks to be fine especially since there isn’t a ton of stretching that needs to be done here. Pin in a way that makes sense to you and sew using a stretch stitch.
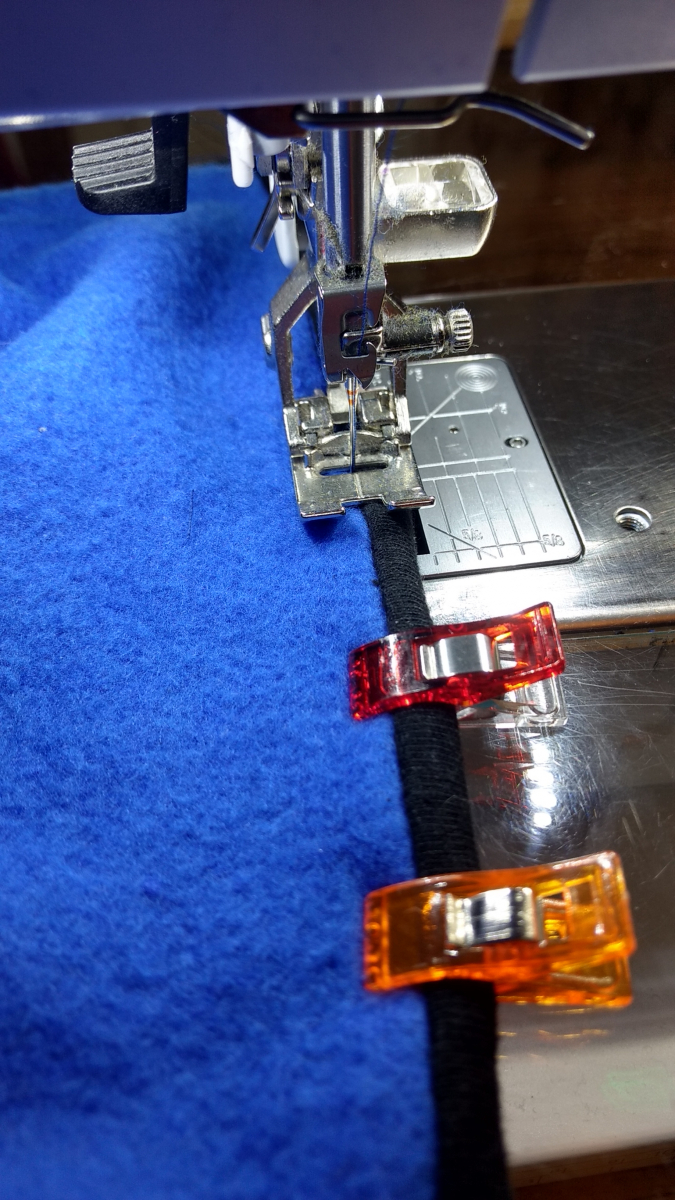
Sew the raw edges together (right side to right side) stretching the binding slightly as you go. Now fold the binding inside the armhole covering the seam allowance and clip in place. Sew the binding in place. I used a straight 3.5 stitch.
Hem Binding
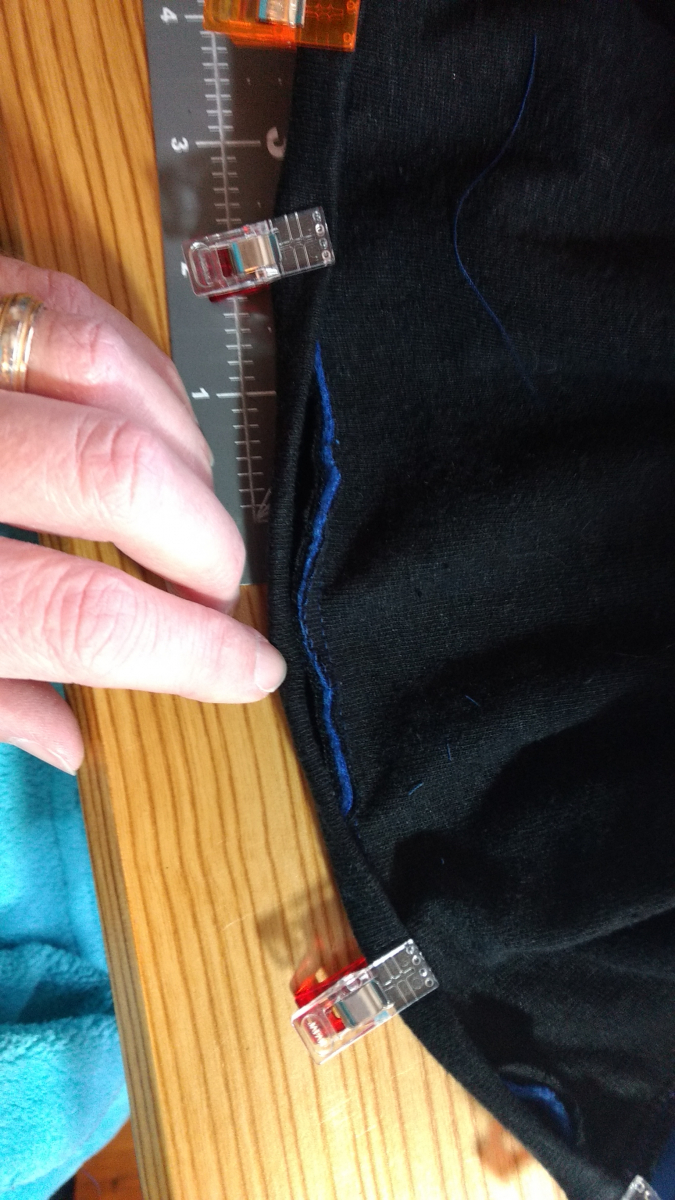
Cut your hem binding according to the chart. I really don’t like the hem binding which is weird because I like all the other bindings on the vest. Maybe next time I’ll try something different, but anyway...cut your hem binding.
Sew the short ends of the short binding pieces to the short ends of the long binding piece. There is an illustration in your pattern.
Then just like with the armhole binding - zig zag the long ends together wrong sides together.
Open your vest up, right side out. Match raw edges of binding to raw edges of vest. The seams in the bindings will match your side seams on the vest. The binding should overhang ⅜” at BOTH center fronts. Stitch in place with a ¼” seam allowance. There will be a little stretching on this seam also.
USE YOUR PATTERN FOR STEP 5.
I didn’t take pictures of step 5 in this section. The pattern itself includes pictures here. I think they are more useful to you than me.
Step 6
There is a video link in your pattern here. WATCH THE VIDEO!
I did not use Wondertape on my vest.
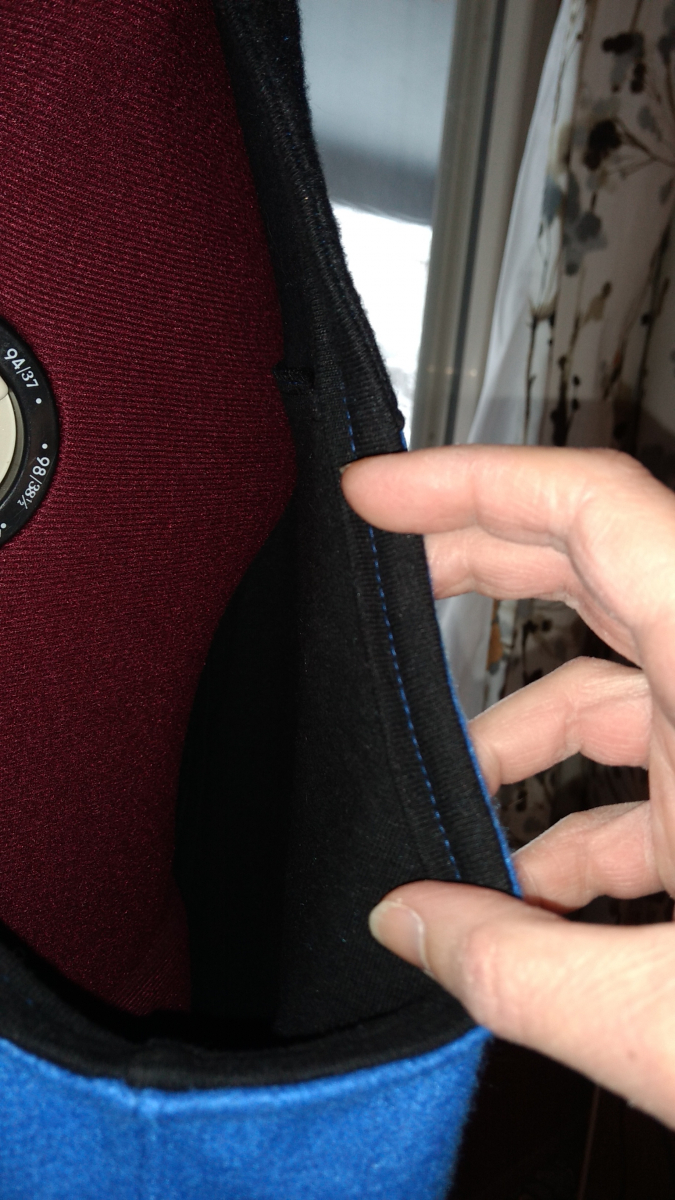
Now stitch in the ditch (I hate this part)
AND...We’re done!
.jpg)
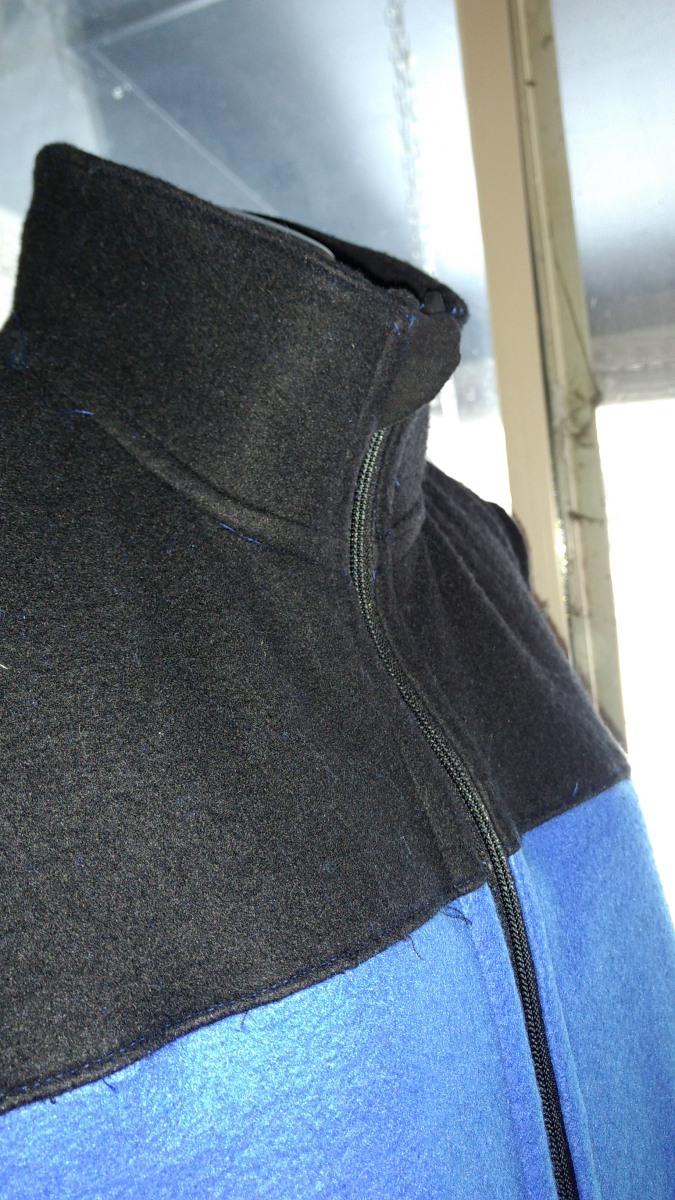
I made this one for my friend John, but I haven't seen him to give it to him. It looks super weird on my dress form. LOL. I'll post a picture whenever I get to give it to him.
The first one I made was for my middle daughter. I made the smallest size for her. She loves it.
.jpg)
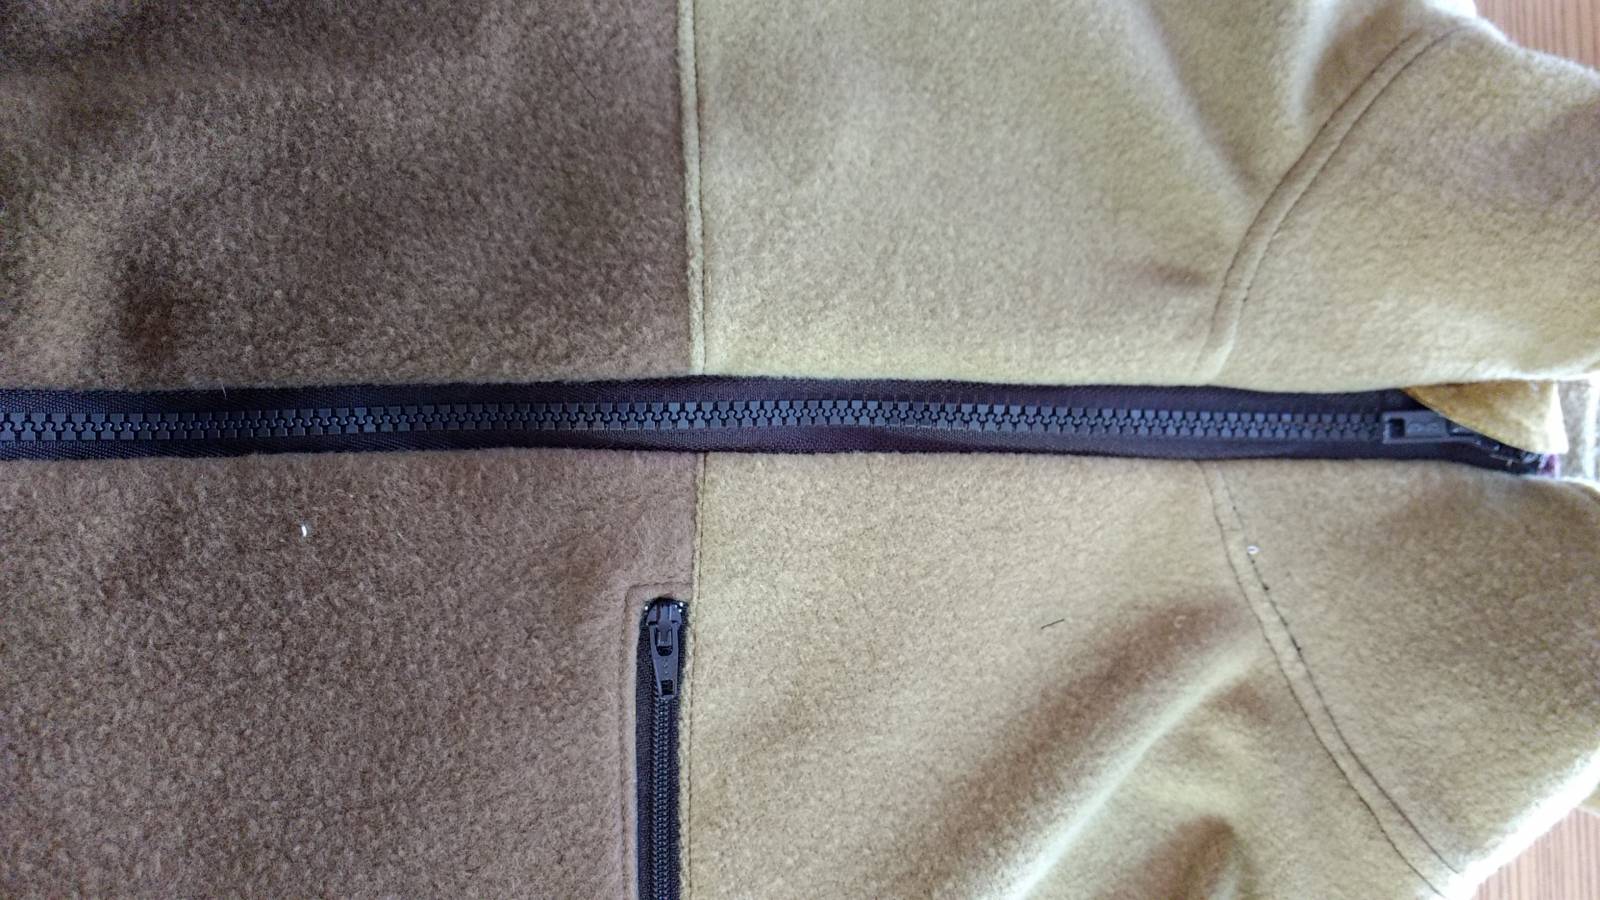
The second one I made was for me.
I've got one more cut out. I'm going to try fold over elastic on that one. I'm also going to change up the pockets. We'll see how it goes. I'll put up a post when I finish.
New to Sew My Style? Learn more and join in here.
Sew My Style 2020 includes these talented sewists, catch up on their #SMS20 posts:
Aaronica @ The Needle & The Bell | Leanne @ Thready For It | Ari @ Max California | Minna @ The Shapes of Fabric | Carol @ Chatterstitch | Michele @ WinMichele | Julian @ Julian Creates | Florence @ FTMom3 | Kelsey @ Seam Lined Living | Kris @ Sew Notes | Laura @ The Specky Seamstress | Samantha @ The Rural Sewist | Sarah @ Haraz Handmade | Shelby @ Handmade Shelby | Simone @ Intensely Distracted | and SMS20 Coordinator Paulette @ Petite Font
To stay up-to-date with all the #SMS20 news, pattern discounts and inspiration, be sure to subscribe to the newsletter at Sew My Style 2020.
I soothed my anxiety with Frank Turner yesterday. Honestly, I sooth my anxiety with Frank Turner most days. So here's some FT:


Comments
Post new comment