Finishing the Piping - Tutorial
I have been spending some time making Swoon bags. I made an Ethel (no piping) and then a Betty with piping. I read the piping tutorial that's up on the Swoon site which was great, but I really didn't like how my piping ended on Betty.
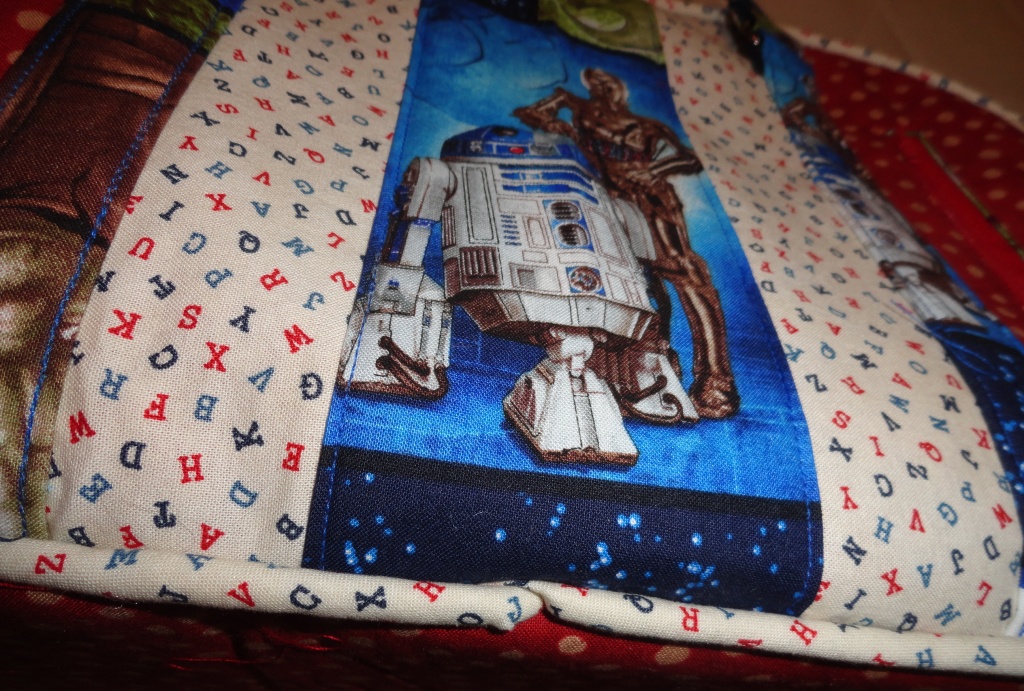
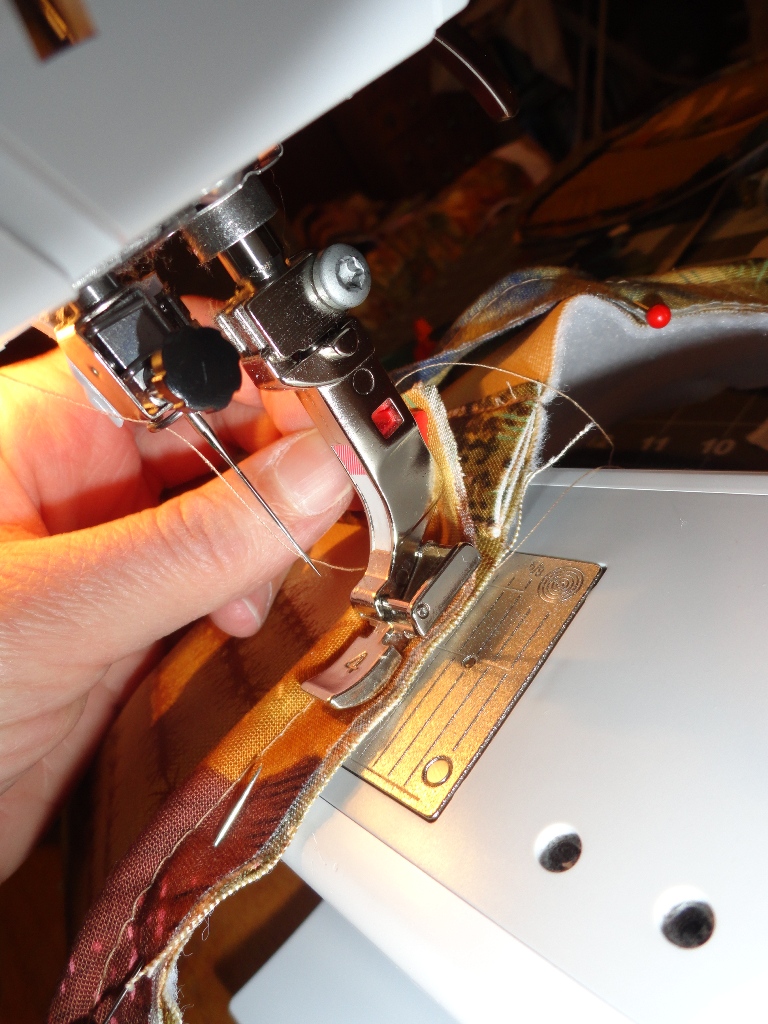
Here's a close-up.
I really struggled with it, and I read and re-read the directions, and I read and re-read the tutorial. Yesterday I was at the point in Dallas where I knew I had to do something better to finish the piping. Here goes...
Step ONE:
Follow the directions on the pattern and pin the piping all the way around. The FIRST pin should be a different pin or a different way of pinning AND the LAST pin should also be different, so you recognize the start and stop points. Each pin will be approzimatly 1.5" away from the center mark.
Step TWO:
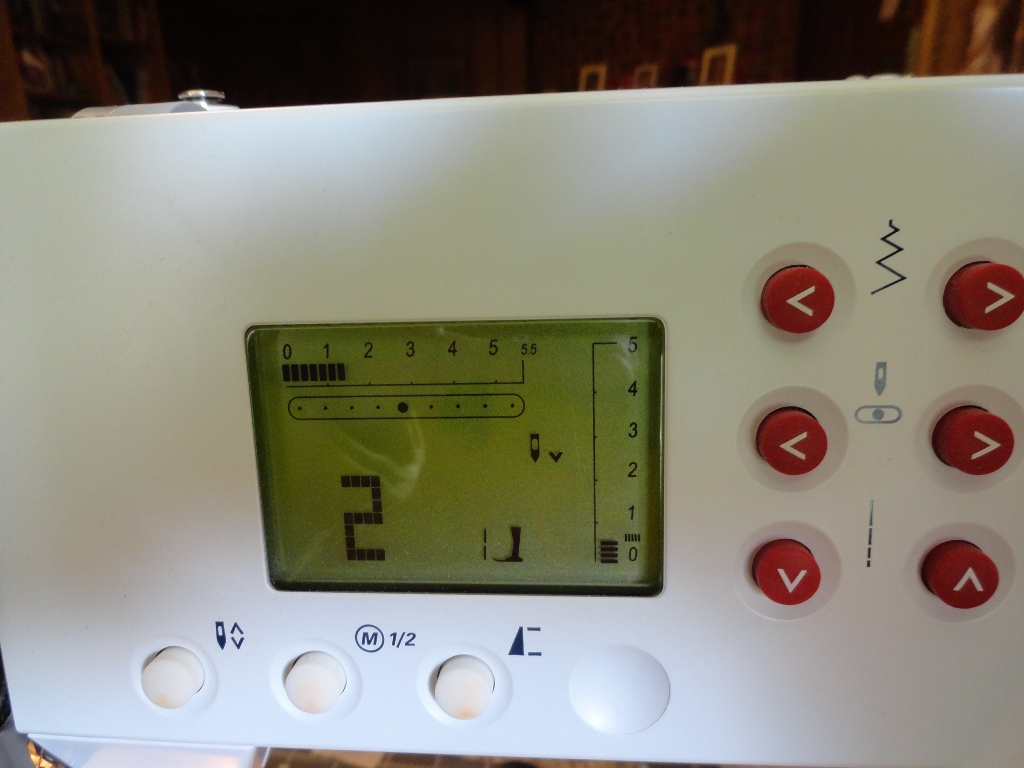
Put on a zipper foot and change the stitch length to the longeset stitich. You will be basting the piping on to the bag.
Step THREE:
Begin sewing where the FIRST pin is - 1.5" to 2" from the actual center mark.
Stop sewing when you get to the LAST pin.

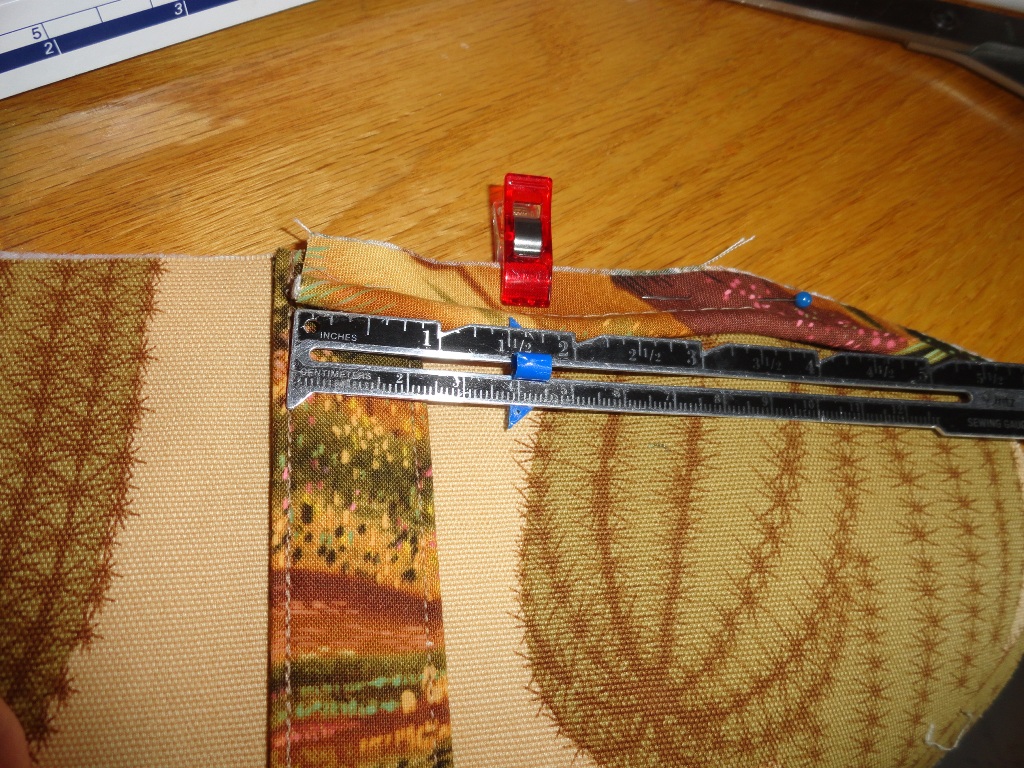
STEP 4:
Open up the piping where you started about an inch and cut a 1/2" or so off of the cording.

Step 5:
Cut the excess off the END of the piping (where you finished the sewing).
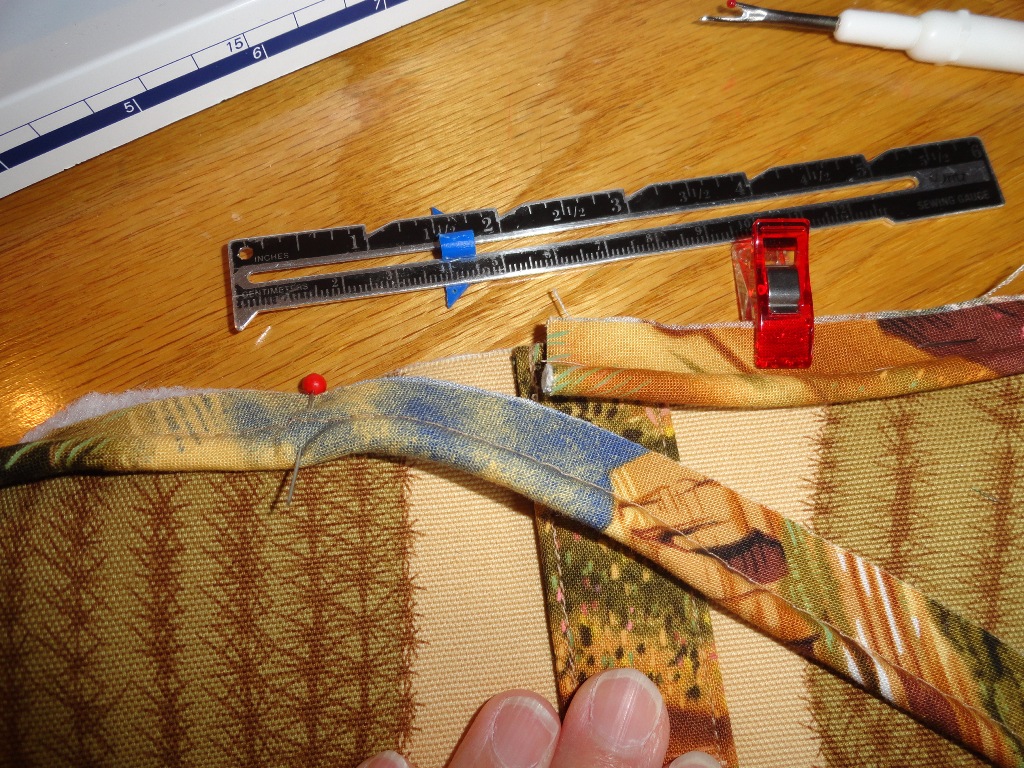
STEP 6:
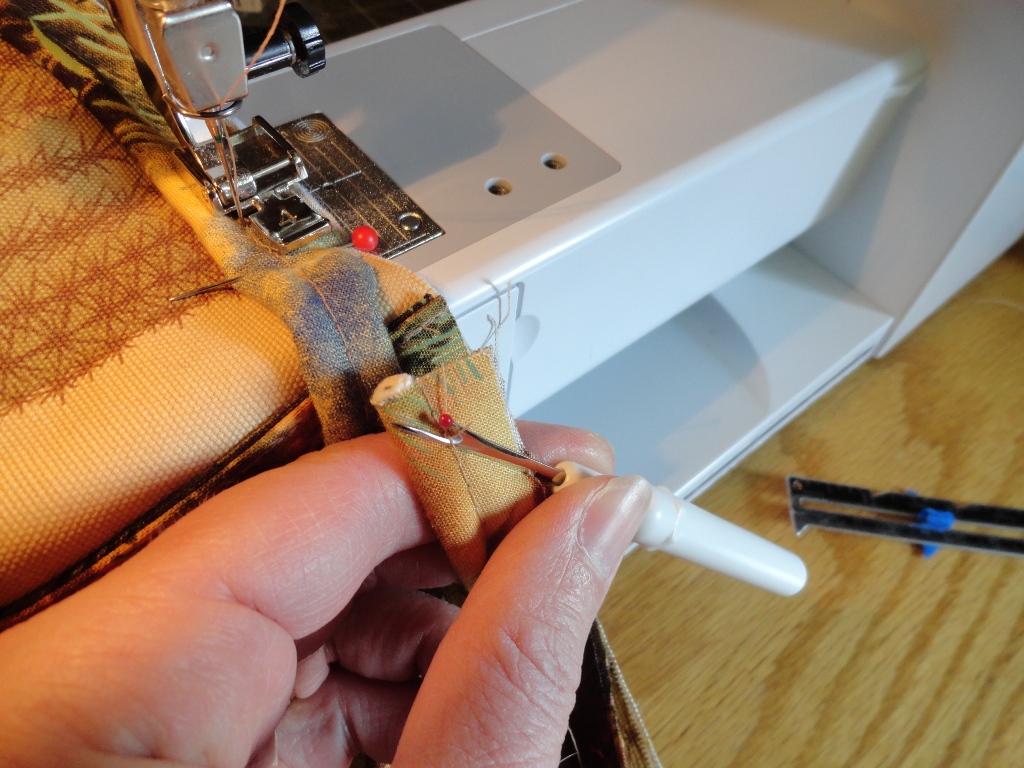
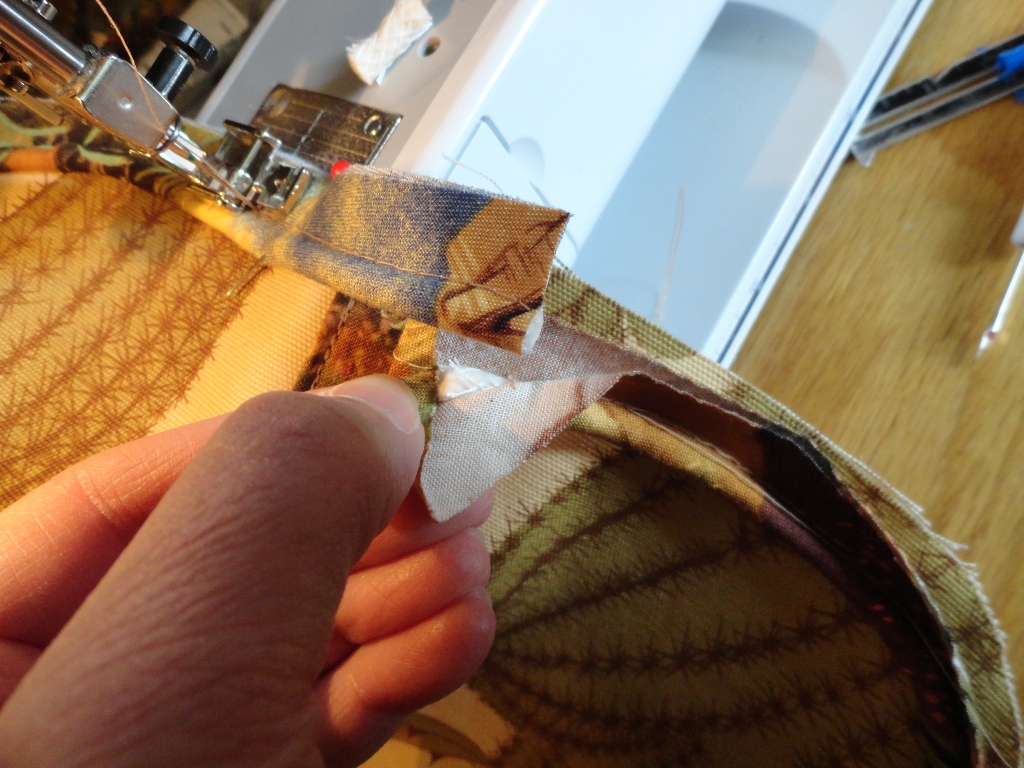
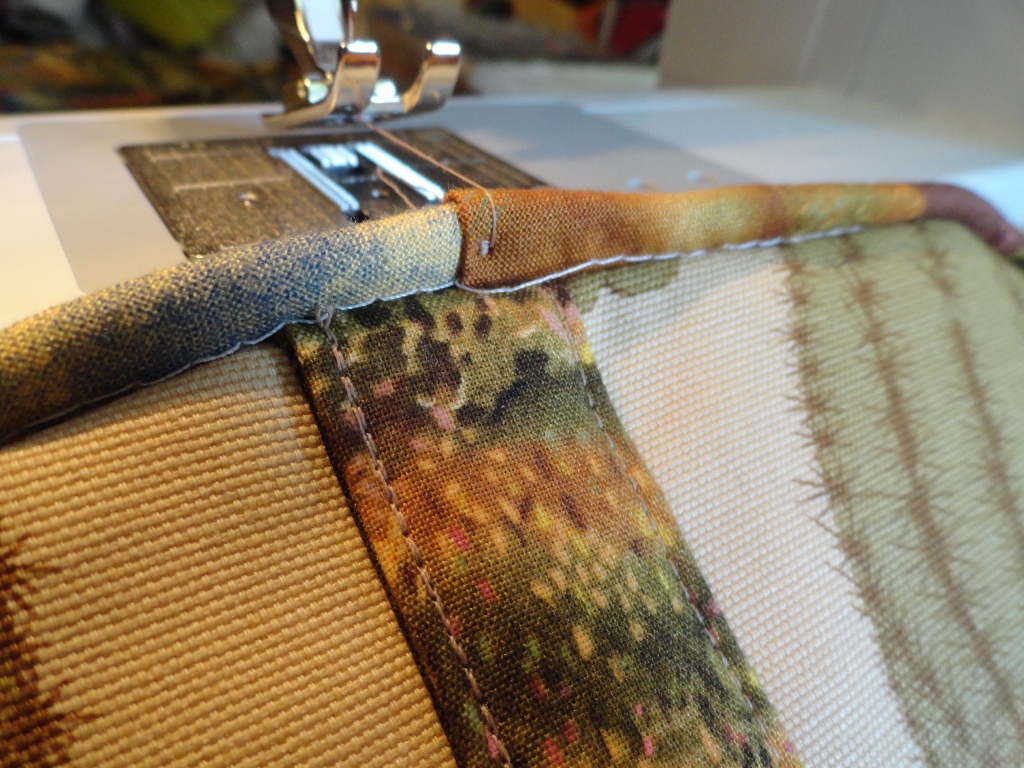
Fold some of the extra fabric, on the start end, in. You can see me begin to do this in the above photograph. You should have wrong sides together when you fold in. Try to fold in 1/4".
The goal here is to fit the end of the piping into the start of the piping and make it even. The end fits into the starting point (where it's folded).
You may need to cut more of the cording OR cut off a little more from the end. In the first photograph of Step 7, you can see the pieces I ended up cutting.
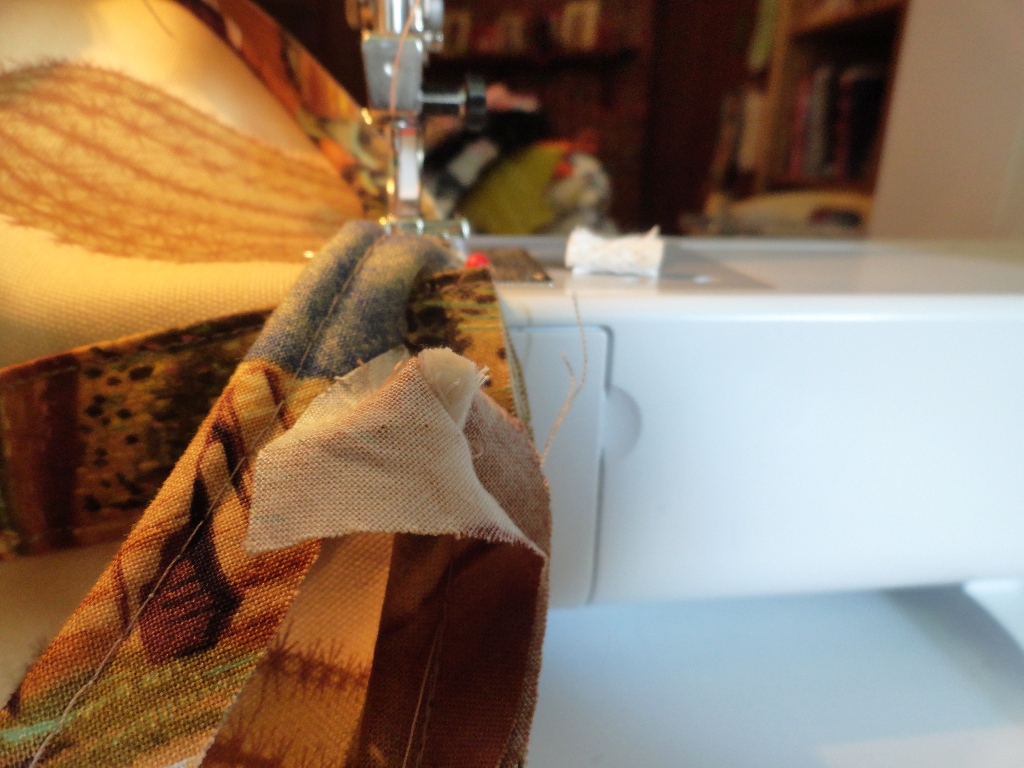
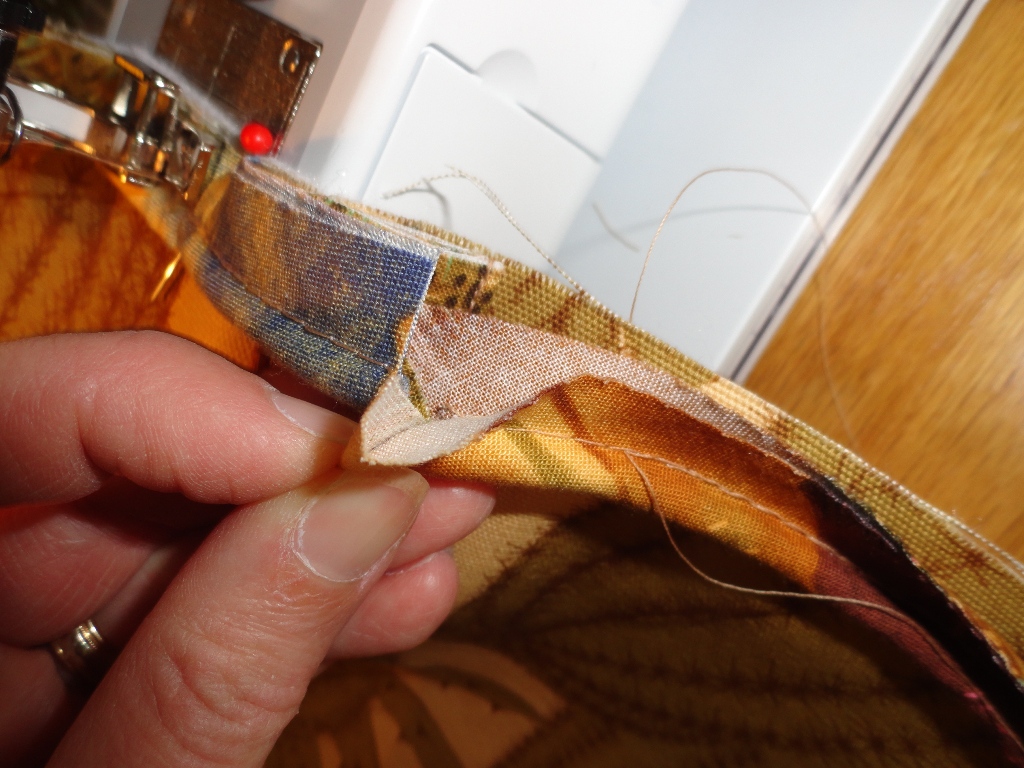
Step 7:
Pin into place and finish sewing the piping on.

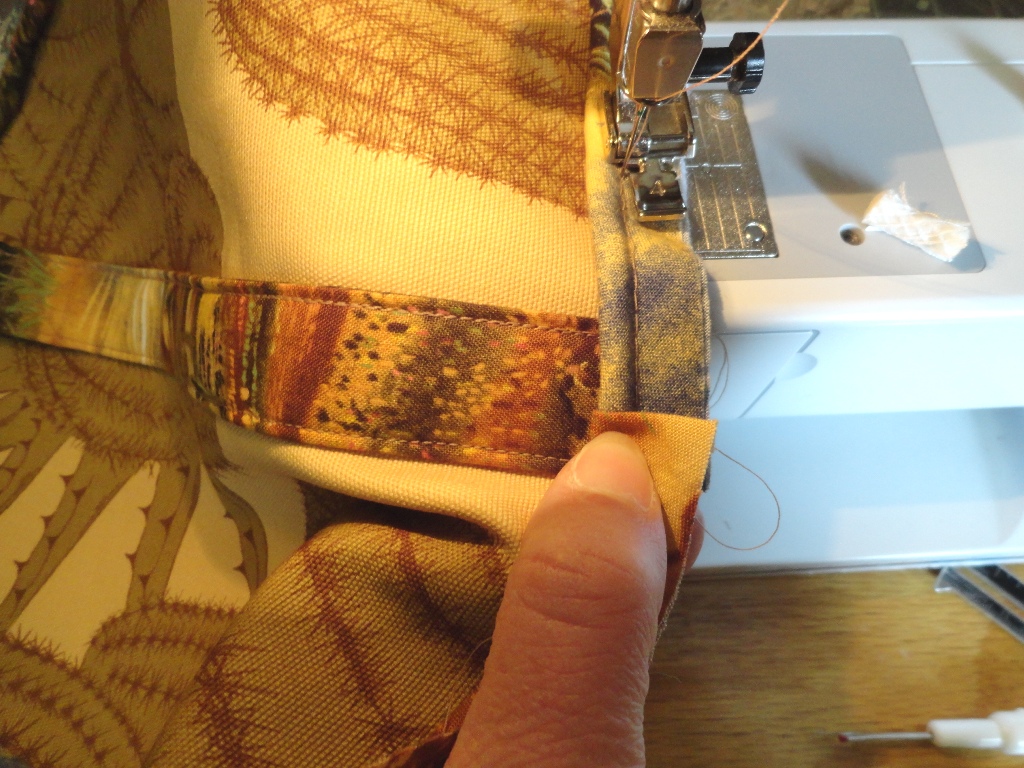
OPTIONAL Step 8:
Use a tiny zig zag stitch to secure in place (using your regular foot). Fold piping AWAY from main piece. Be sure you only sew through the piping. 5-7 stitches should be enough.
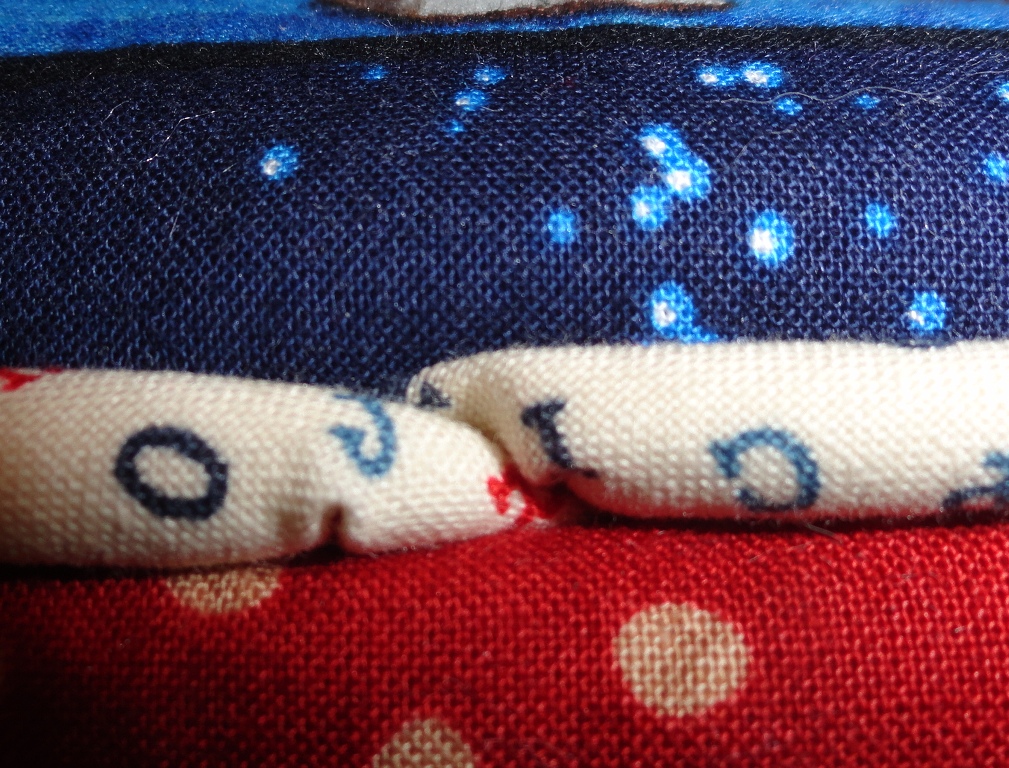
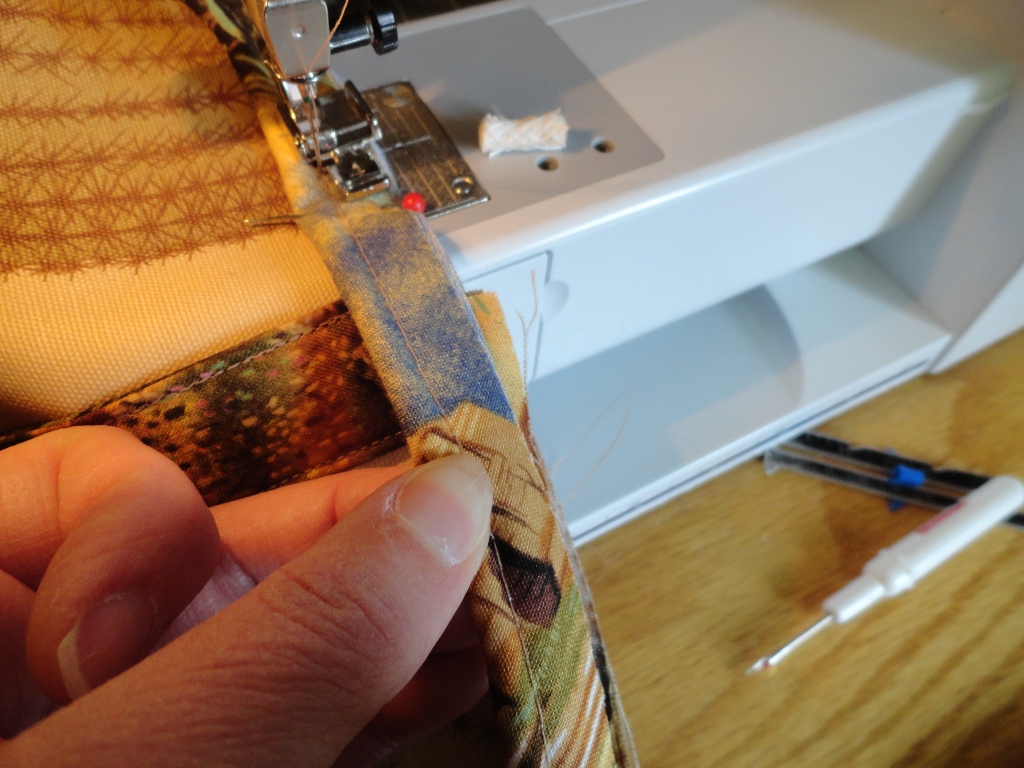
Here's the finished product BEFORE optional Step 8.
Change your stitch length and width (but not too small!).
Sew JUST the piping.
Yes, I know that original piping stitch should not be showing. I am still working on getting my piping tight.
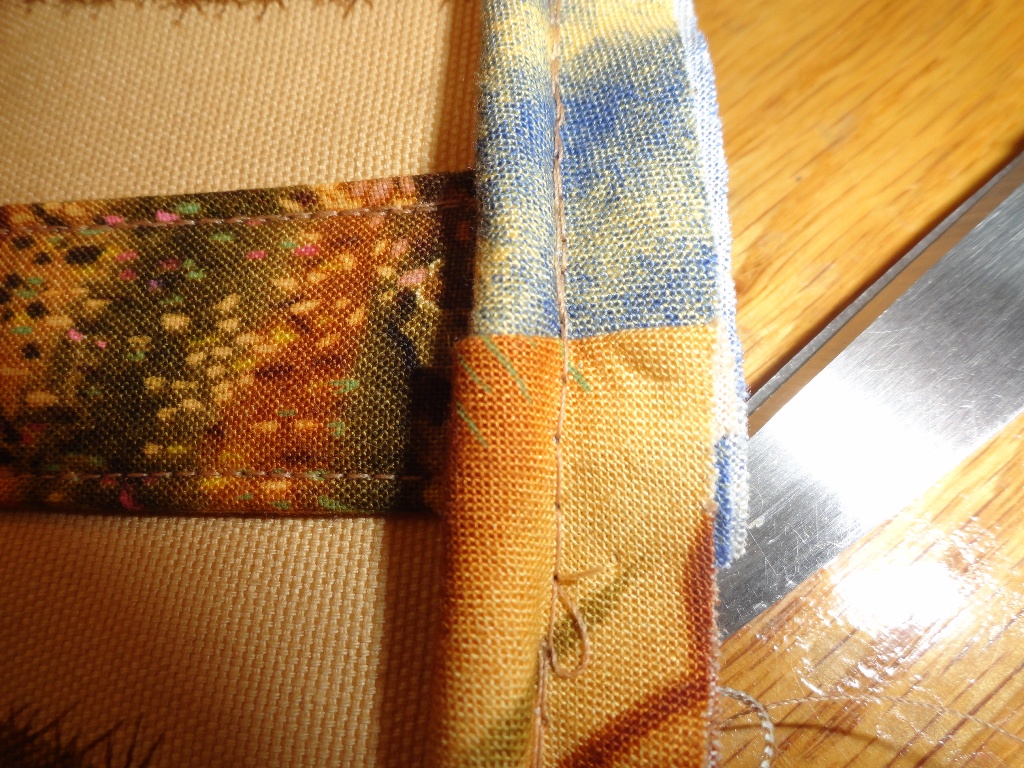
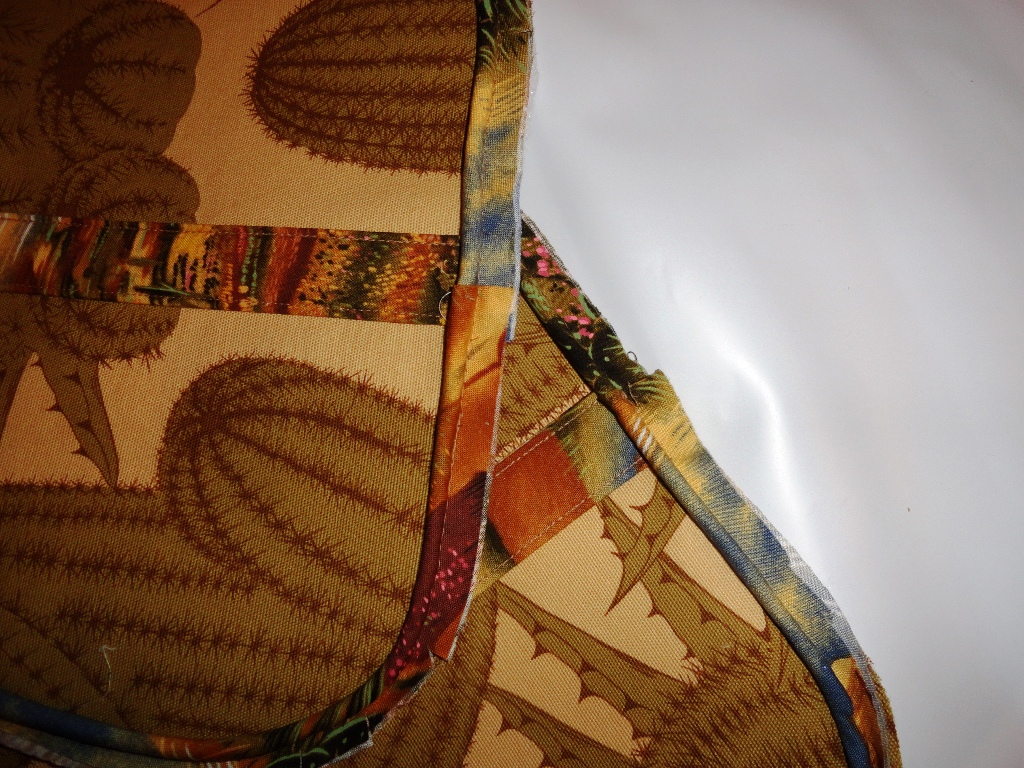
Here are my two finished ends:
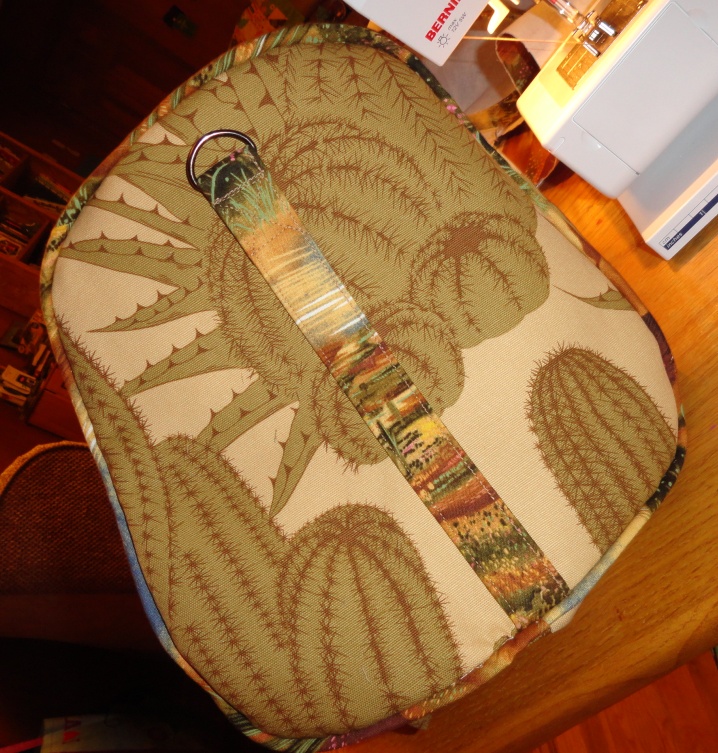
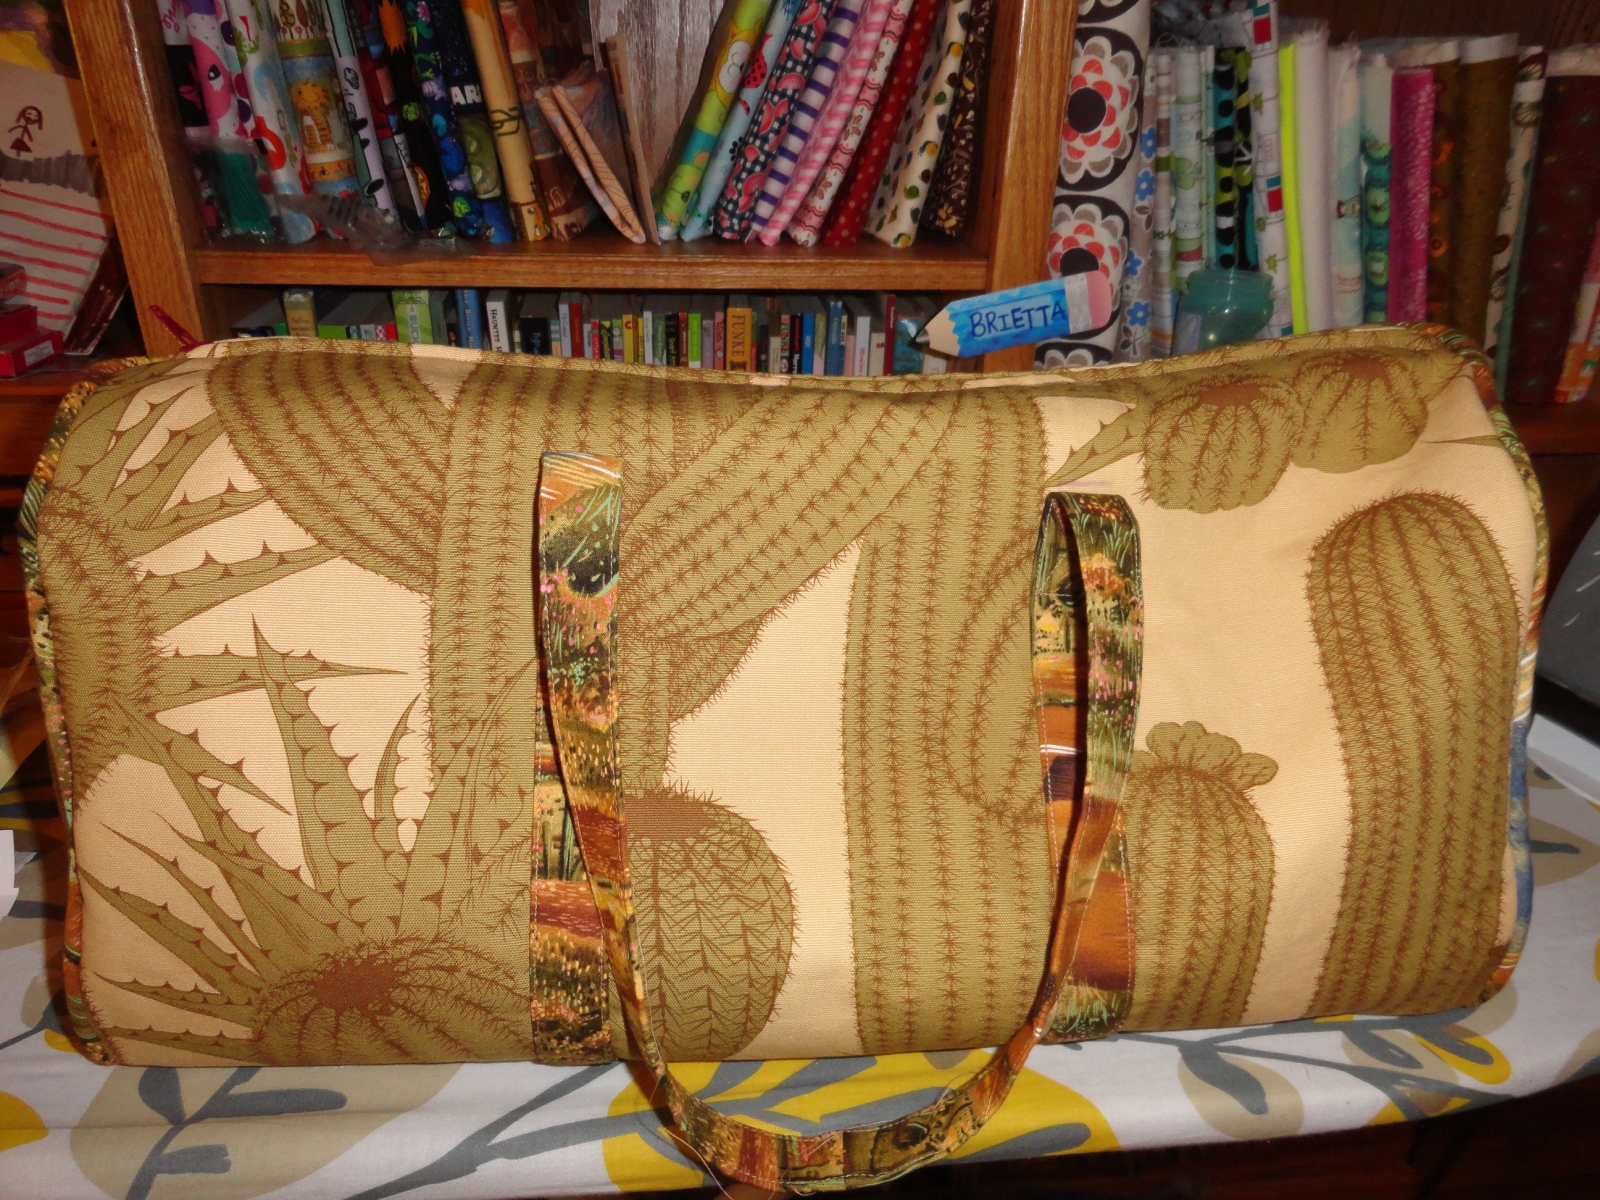
And here is my finished bag:

I usually end with music, but today, well today, I am addicted to Robin Hood again. I have seen them all before (more than once), but I can't help myself. I LOVE this show. I have been watching re-reruns of the BBC show the whole time I have been making Dallas. If you have yet to watch it, it streams on Netflix. Here' s a clip:


Comments
Post new comment